|
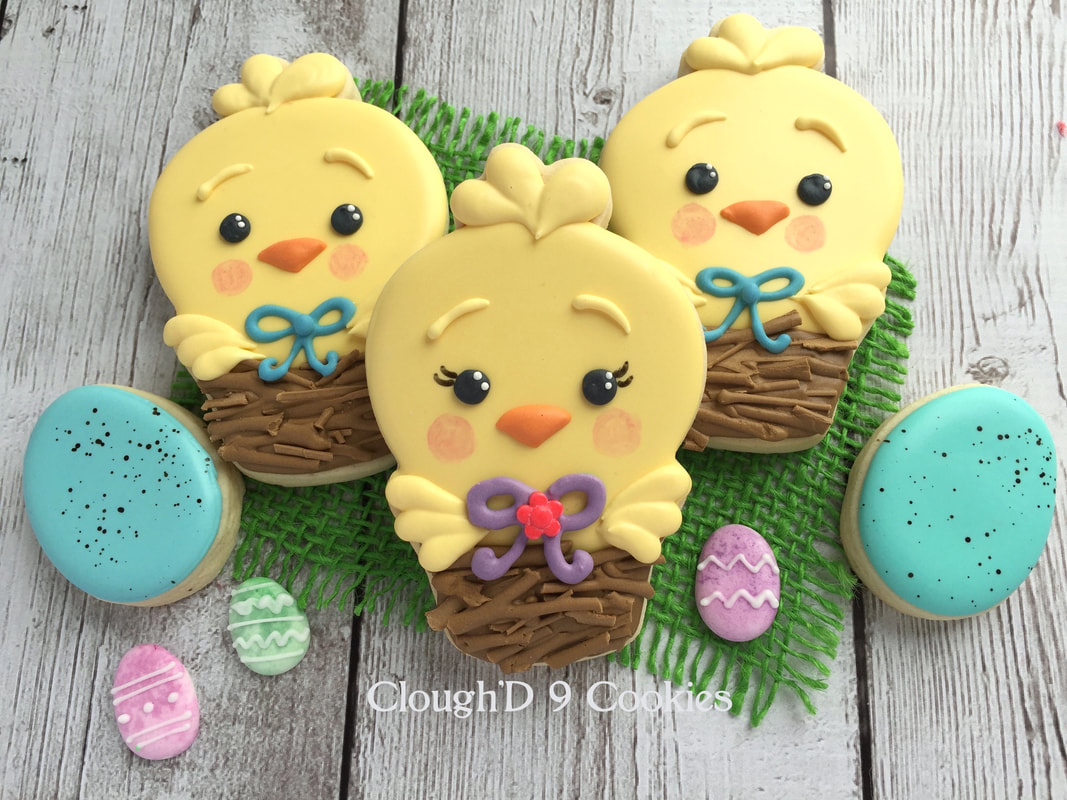
One of my tricks in creating new, cartoony designs is to exaggerate one or more qualities of the character. Big nose, little eyes, tiny body, big head- all of these characteristics can make your design cute and whimsy. Plus, it takes away some of the pressure to make proportions just right. You might just recognize the cutter I used to make this little chick! It's the round potted cactus from Sweet Sugarbelle! It makes the perfect fat chick in a little nest. Maybe they live down by the river? Sorry- I saw a Chris Farley clip the other day 😂.
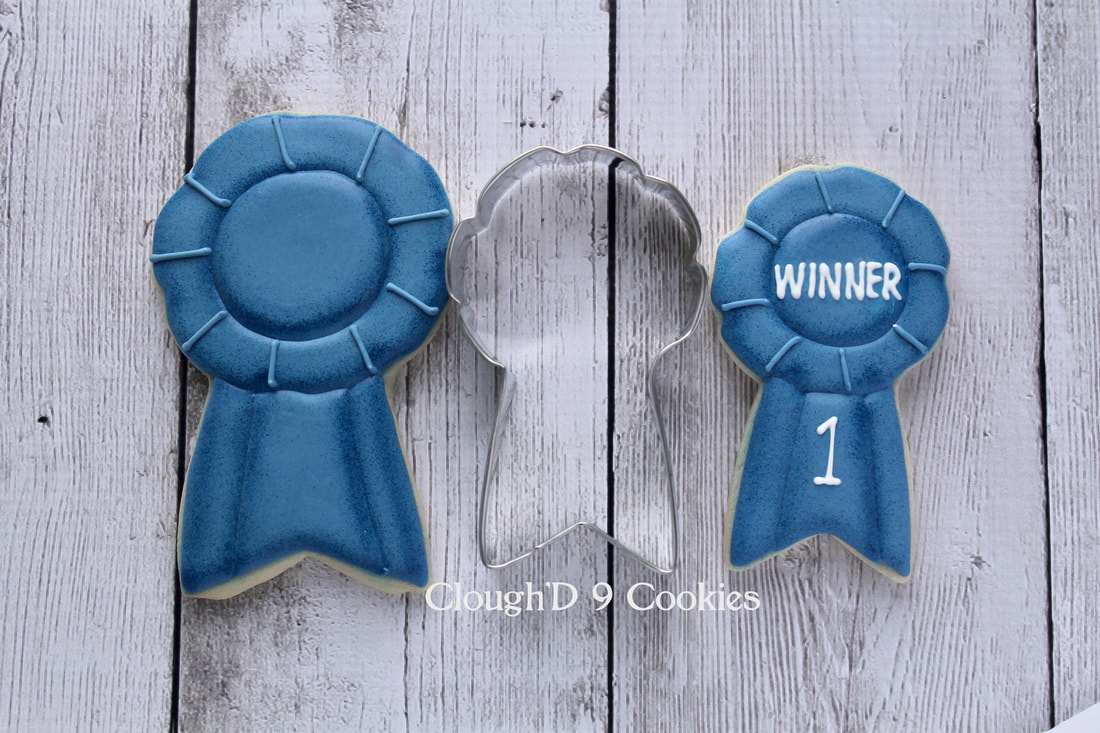
First, let me get this clear- I AM NOT ALTERING MY CUTTERS IN THIS POST. NO CUTTERS HAVE BEEN HARMED IN THE MAKING OF THESE COOKIES :) Of course I've been known to stretch/alter a cutter now and again, but this post takes a different spin on making your cutters work for you. A little back story, if you will...
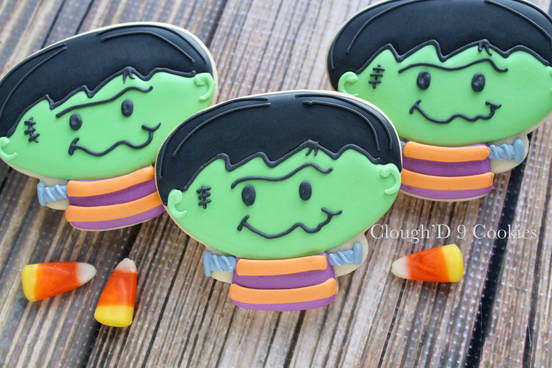
Frankly, I think the creature we commonly call Frankenstein might just be my favorite Halloween-time character. Maybe it's because I love the pop of green that my soothes my eyes amidst the sea of traditional orange and black Halloween colors. Maybe it's because I like to picture him as a cute cartoony character instead of the monstereous thing that is depicted in the book/movies. In any case, I love making Frank in cookie form!
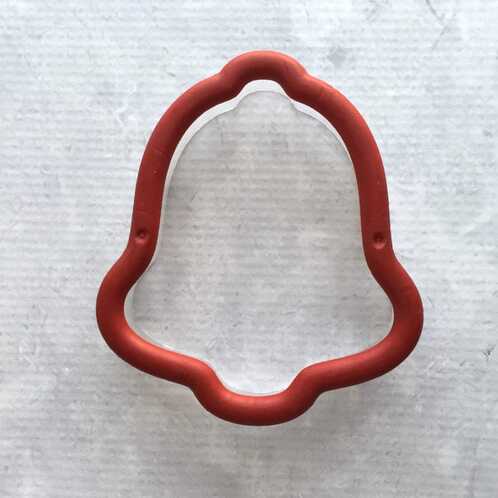
This year, I got my hands on one of these sets of Halloween cutters, designed by Sweet Sugarbelle. I've had this bell cutter for many years now. And guess what? I've never made a bell cookie with it until this year! But don't let that fool you- it's one of my ABSOULTE FAVORITE CUTTERS. I'm not lying. It's one of those cutters that never finds it's way back into my "Christmas" cutter bin because I always come back to it over and over again. And if I put it in my Christmas bin, I would have to get on a step stool to get it all the time. And that's too much work. And chances are, something would fall on me as I tried to bring down my Christmas bin box. So for safety's sake, I keep it out. Always.
DISCLAIMER: I am not a trained photographer by any stretch of the imagination.
I don't know about aperture and ISO and raw images and such. I just like to take pretty pictures of my cookies. I just wanted to share one little trick for anyone else like me. My top 4 "must have" tools for cookie decorating (that aren't actually made for cookie decorating)!6/24/2015
If you are new to cookie decorating, you'll need the obvious pieces of equipment: rolling pin, cookie cutters, baking sheets, decorating bags and tips, etc. Sweet Sugarbelle has put together a very thorough list here with all the basics. However, there are a few pieces of equipment that I HAVE to have in my kitchen. They aren't made by Wilton or some of the other cake/cookie decorating companies. They are everyday items that have made a big impact in what I do! Let me share them with you!
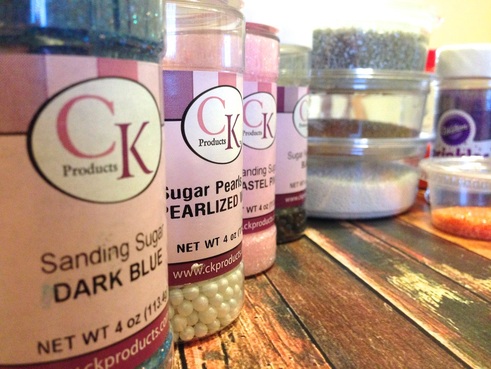
Sanding Sugars. Those tiny, sweet crystals that can add a little extra sparkle and depth to cookies. Like many other cookiers, I have a slight addiction to sanding sugars and sprinkles. It doesn't take long to amass a generous collection of these miniature gems.
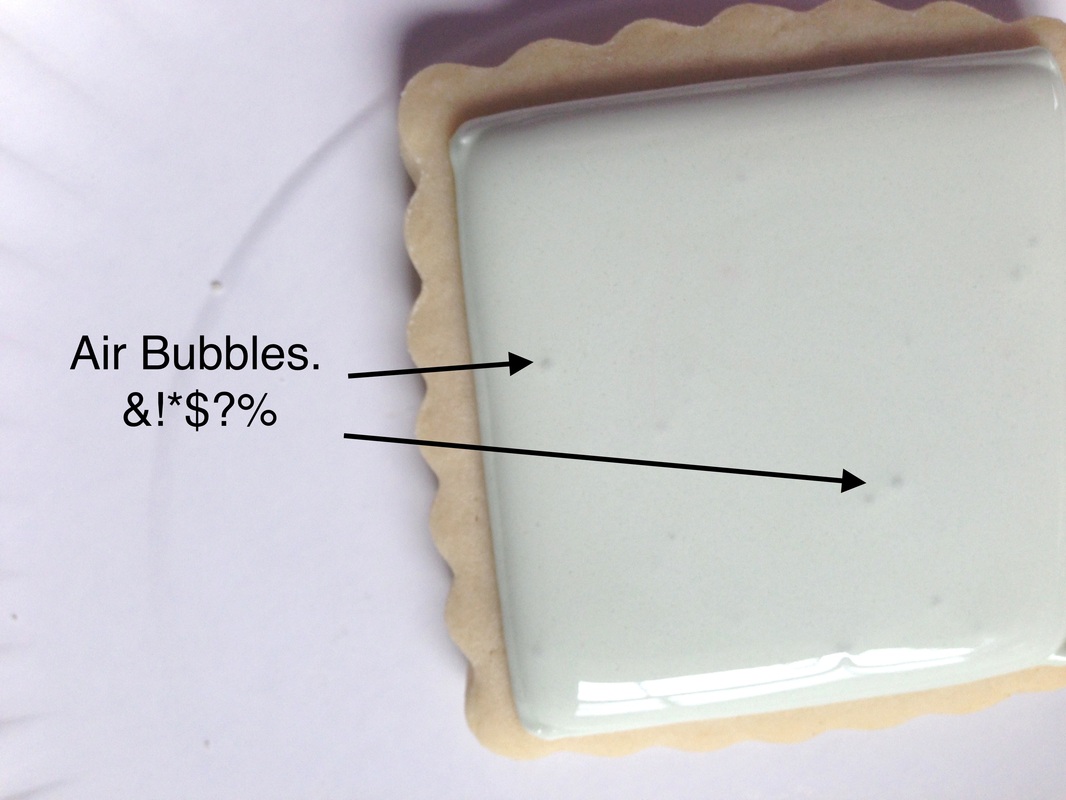
Air Bubbles. The bane of existence of cookiers everywhere. This particular cookie has an excessive amount of those pesky little boogers. So embarrassing (and irritating :/). There are tons of reasons WHY you may have bubbles in the first place: * The royal icing was mixed too long and too fast. * The royal icing is too thin. * The thinned royal didn't sit long enough to allow the bubbles to surface before trying to use it. Now that you have bubbles, you are left to your trusty toothpick, Boo-Boo stick, or turkey lacer to try to pop the bubbles before your icing crusts. Let the stabbing begin! Sometimes those bubbles get trapped under your icing for all eternity, leaving that little shadowy scar on the pristine surface on your cookie. I can feel my heart hurting right now.
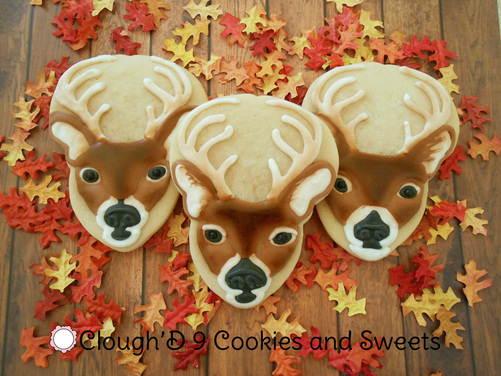
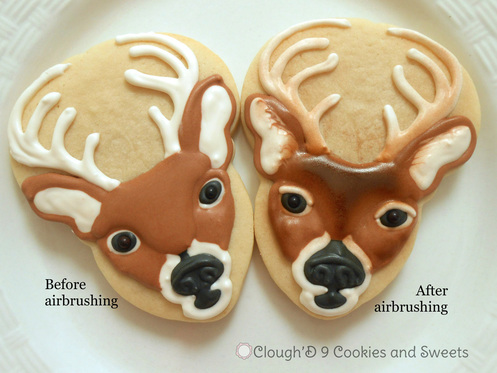
Thanksgiving and the weekend that follows are big hunting days where I live. A few extra days off of work and lots of Thanksgiving leftovers makes hunting even more enjoyable. Folks bundle themselves up, head to their favorite stand, and wait for that perfect buck to show up. Kinda like these realistic deer! Take a look at the "before" and "after" below. After I created the deer and allowed it to dry, I wanted to take it to the next level. I pulled out my trusty airbrush and went to town. Look at the difference a little shading makes! Sometimes, I get a little overzealous with my airbrushing, and over-shoot my intended target. Time to pull out the trusty boo-boo stick to scrape the extra coloring from the cookie.
|
AuthorI'm Amy. Wife, Mom, former science teacher- and now full time cookie baker on Maryland's Eastern Shore. Pull up a chair and we'll create! I'll bring the coffee- maybe Mike (The Cookie Widower) will make it for us. Categories
All
Archives
May 2021
|
Copyright © 2024 Clough'D 9 Cookies *All rights reserved*


 RSS Feed