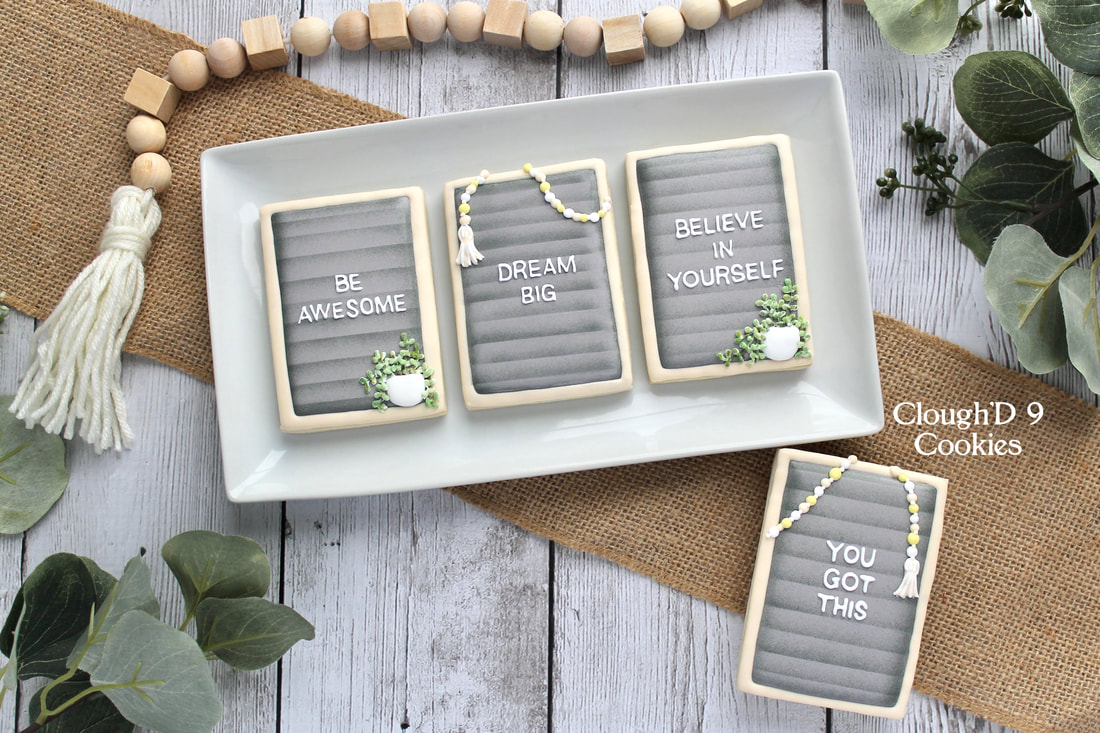
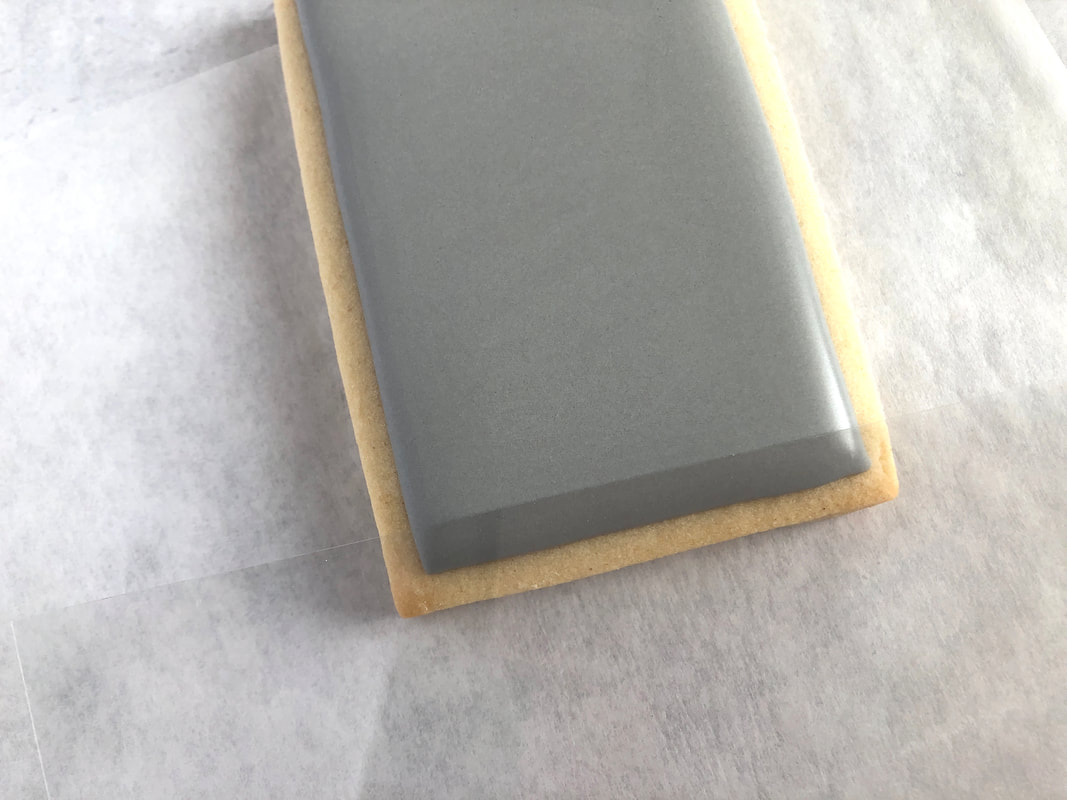
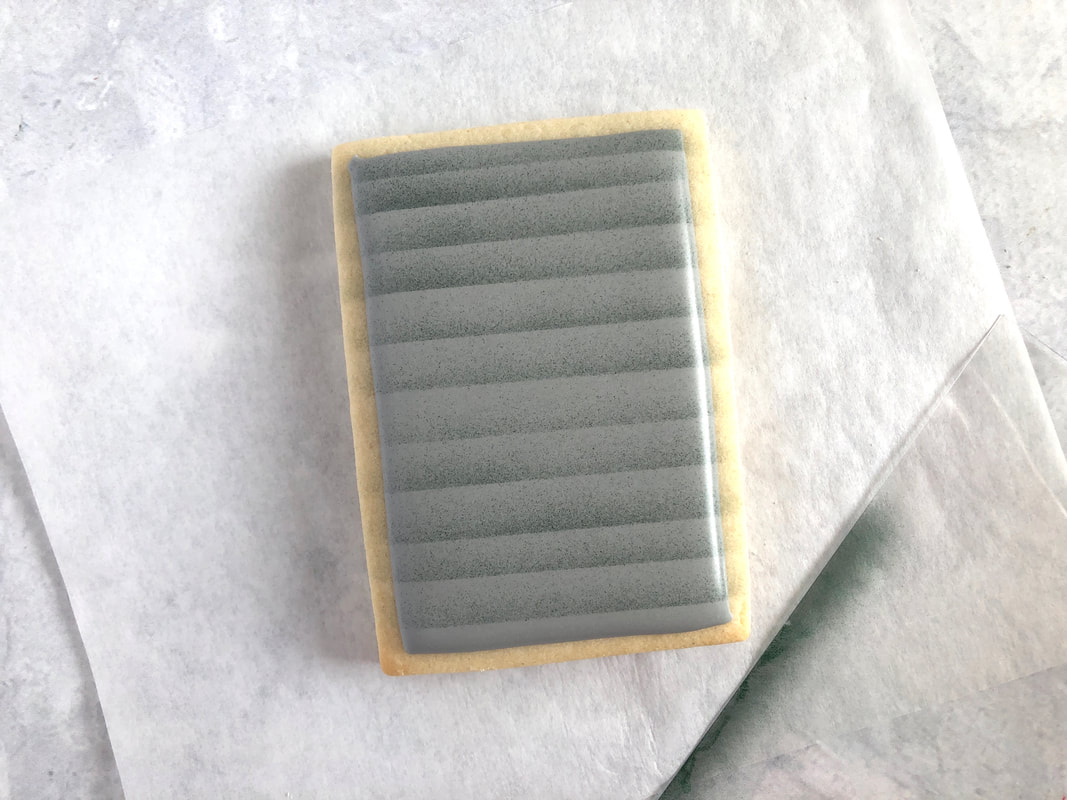
 Message boards are trendy right now in home decor. From words of encouragement to snarky statements, message boards give a perfect outlet for our thoughts. Real message boards are pretty simple: pleated felt fabric in a frame + plastic letters that are pushed into the pleats. That's it! Cookie message boards can be much more complicated if you try to pipe every pleat. The look of a pleated board can be made quickly with an airbrush and the flat edge of a stencil, without having to pipe every pleat or worry about cratered sections. What you'll need: * Cookie message board shape. I just used a simple rectangle cutter. * Royal icing in the following colors/consistencies: Gray: 20 second (I make gray icing with a tiny bit of black + yellow/ivory gel food color. The yellow helps to offset the purple-y undertones that black can sometimes have) Tan: 25 second White: Piping * Airbrush machine * Black airbrush color (I use Chefmaster Airbrush Color) * the straight edge of any random stencil, preferably where the cut stencil portion is away from the edge. 1. Bake your cookie shape. Use the gray icing to flood the middle section of your board. Leave room for the frame that will be added later with tan icing. Let the gray icing dry for several hours. 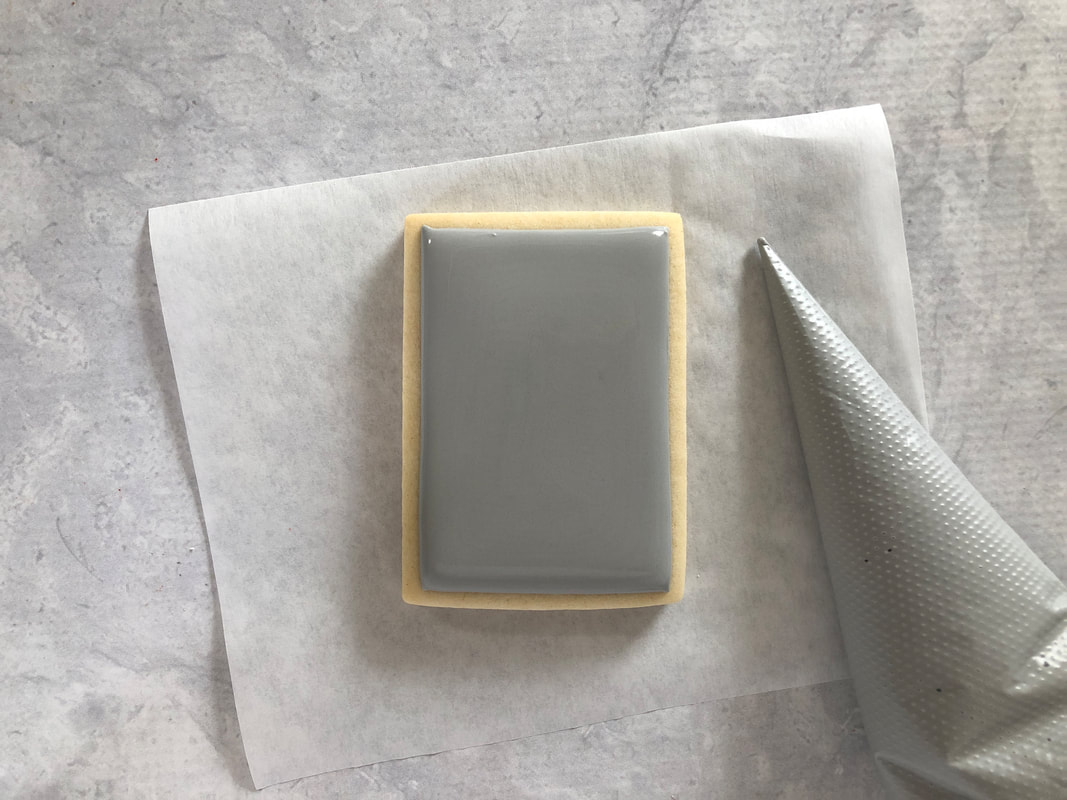 2. Gather up your airbrush, airbrush color, and stencil sheet. I prefer to use a clear stencil so that I can see through it. 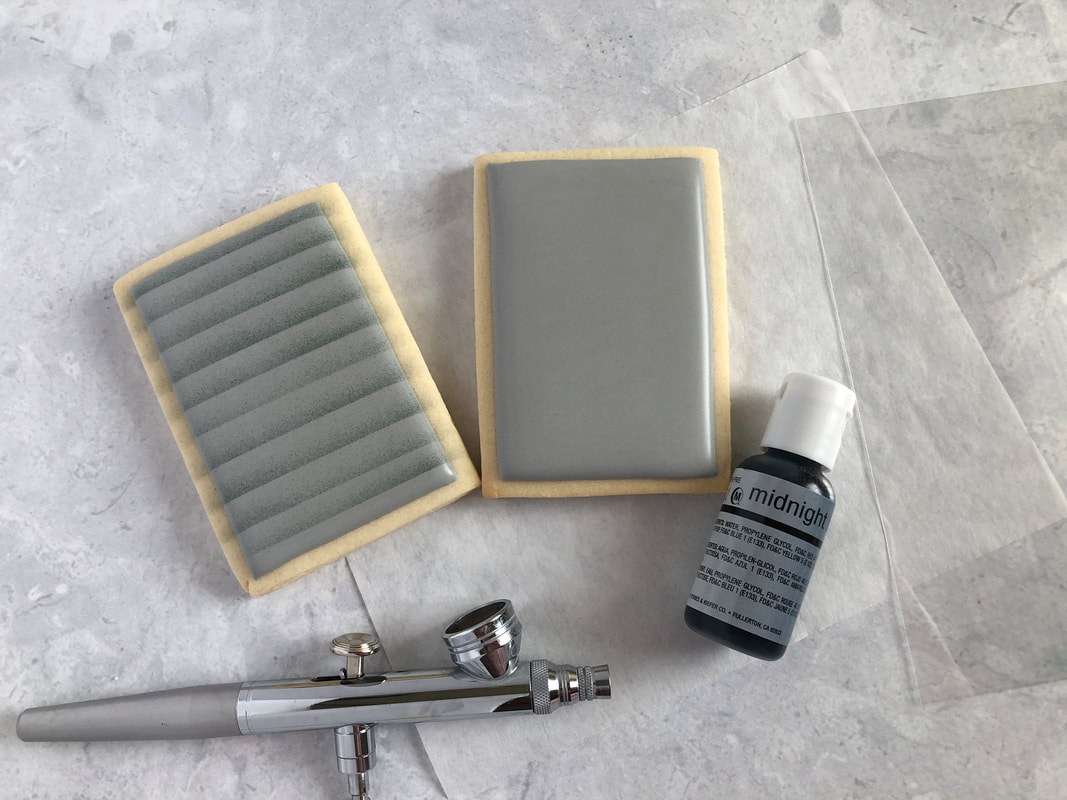 Lay the stencil edge parallel to the icing edge of your cookie. Lightly spray airbrush color along the edge of the stencil.
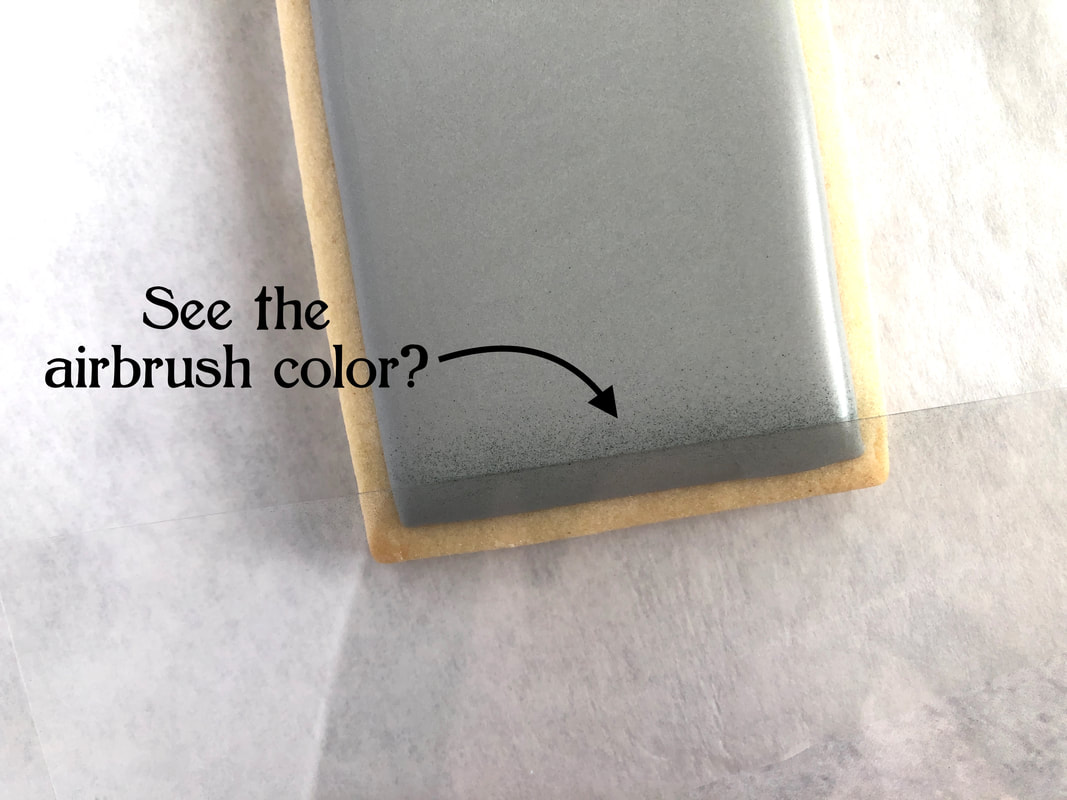
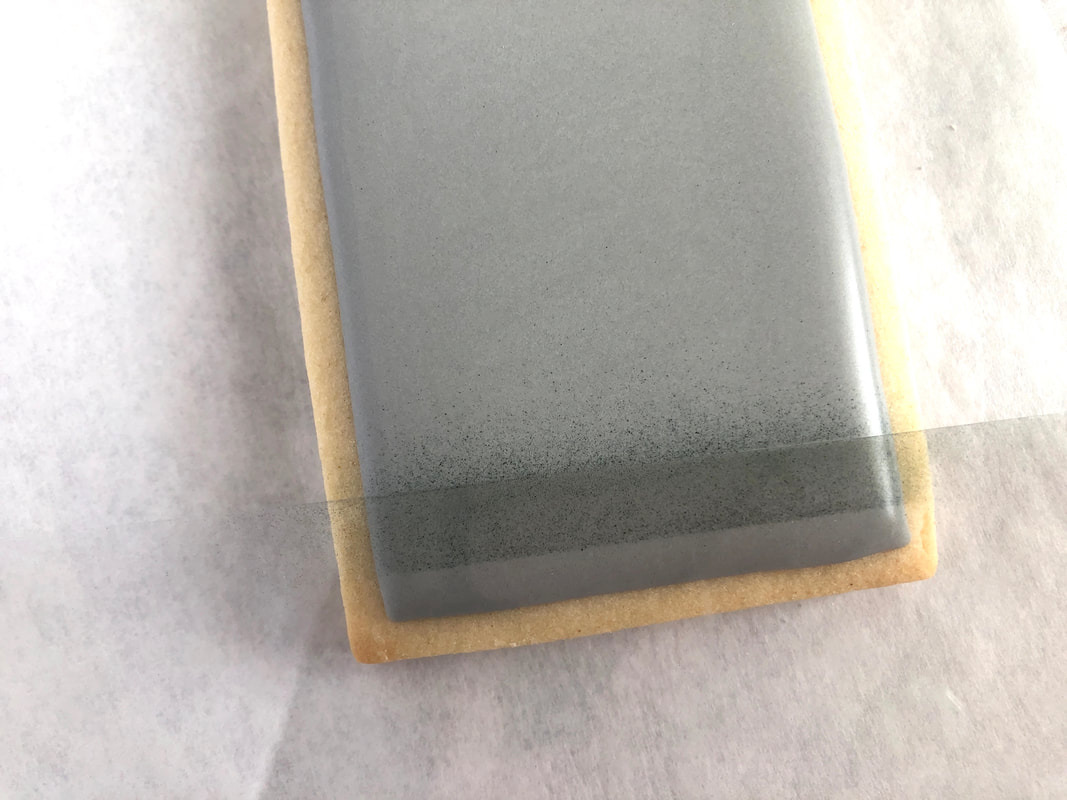
Now, slide the stencil up just a little bit, covering what you just sprayed. Lightly airbrush the edge of the stencil again. See how it's creating a layered/pleated look? Continue to move/spray up the entire surface of the cookie.
If it's difficult for you to keep your airbrushed lines parallel and evenly spaced try placing the cookie on an index card. Match up the edge of the stencil with the lines on the index card as you airbrush. 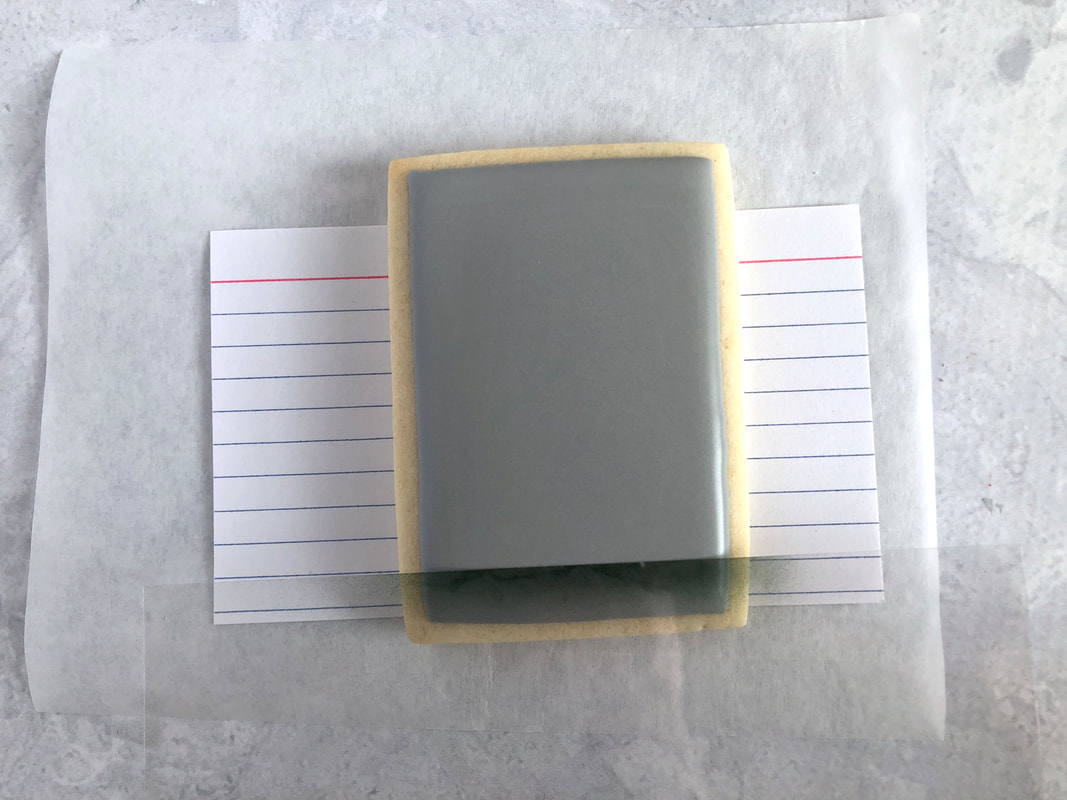 3. Once your lines are airbrushed, pipe the frame with the tan royal icing. 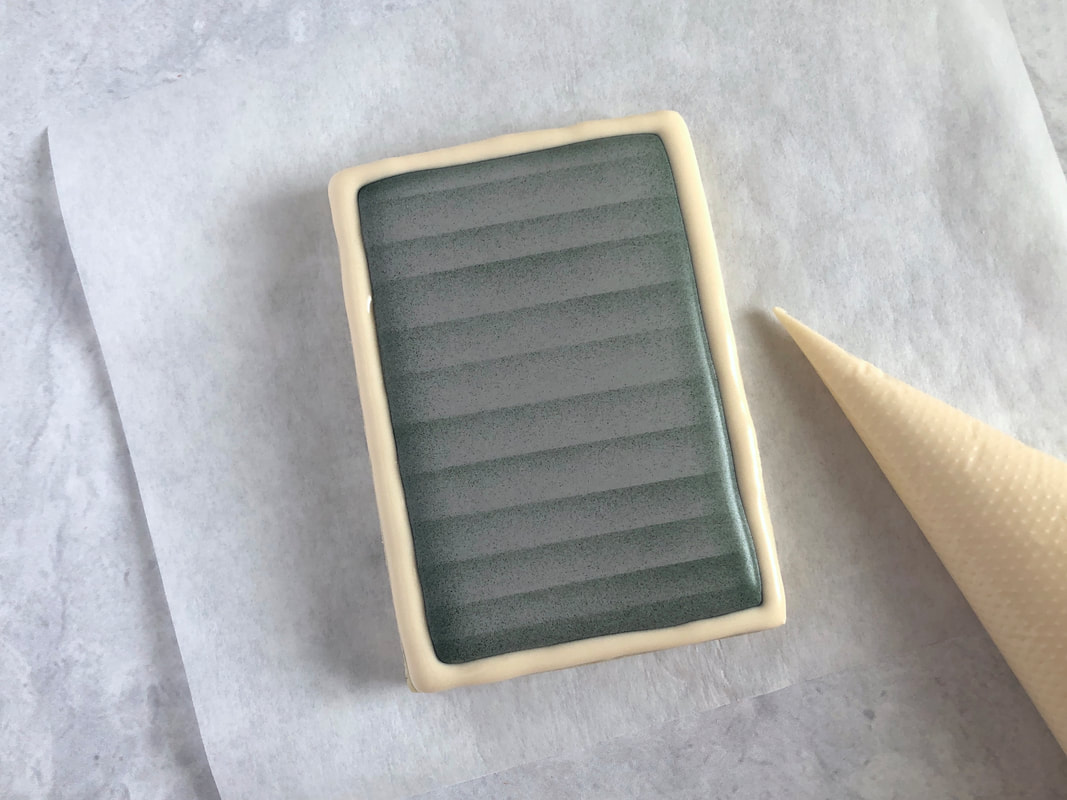 4. Type out your sayings in Helvetica font (that's actually the font of real message boards!). Pipe them on with the white icing. 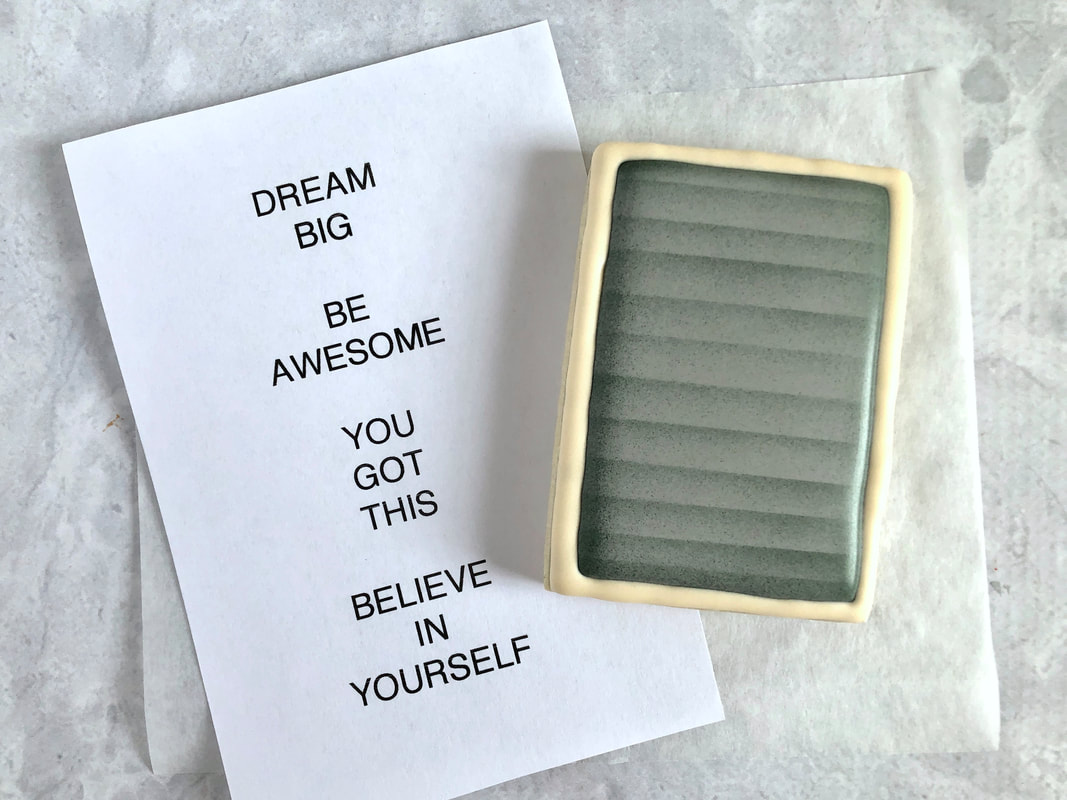 Feel free to leave your message boards on the plainer side... 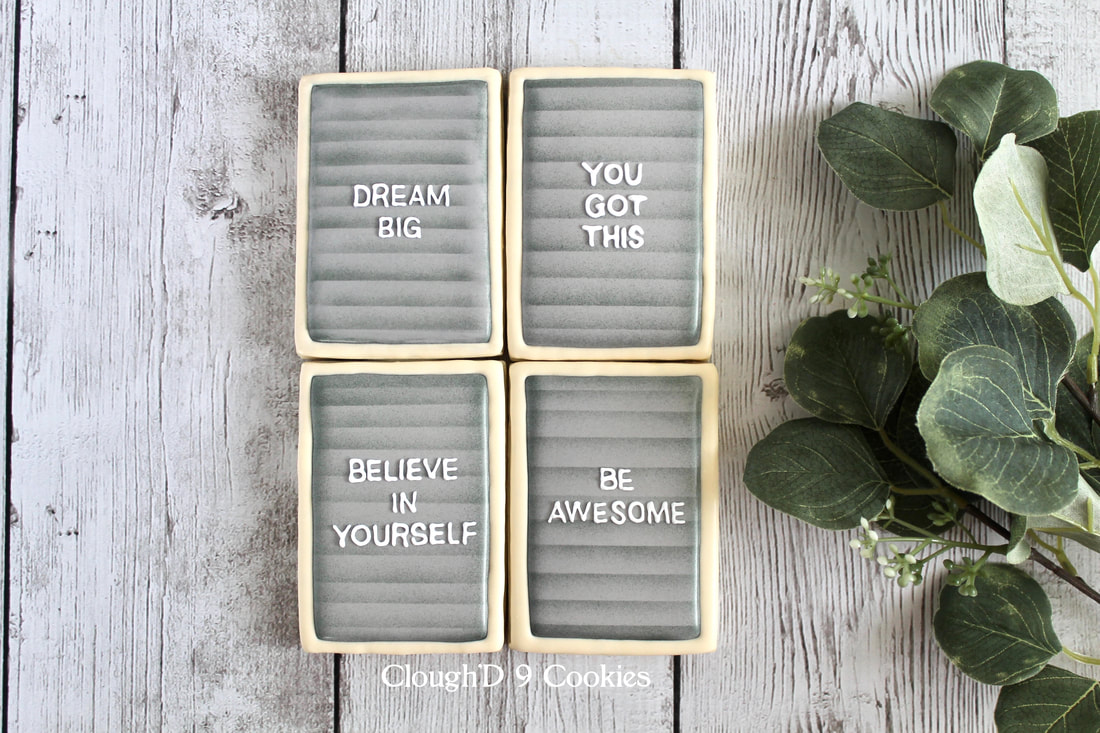 ...or add some special accents like beads or plants. Maybe do seasonal accents, like a little pumpkin for fall-themed message boards. Florals would be pretty, too! 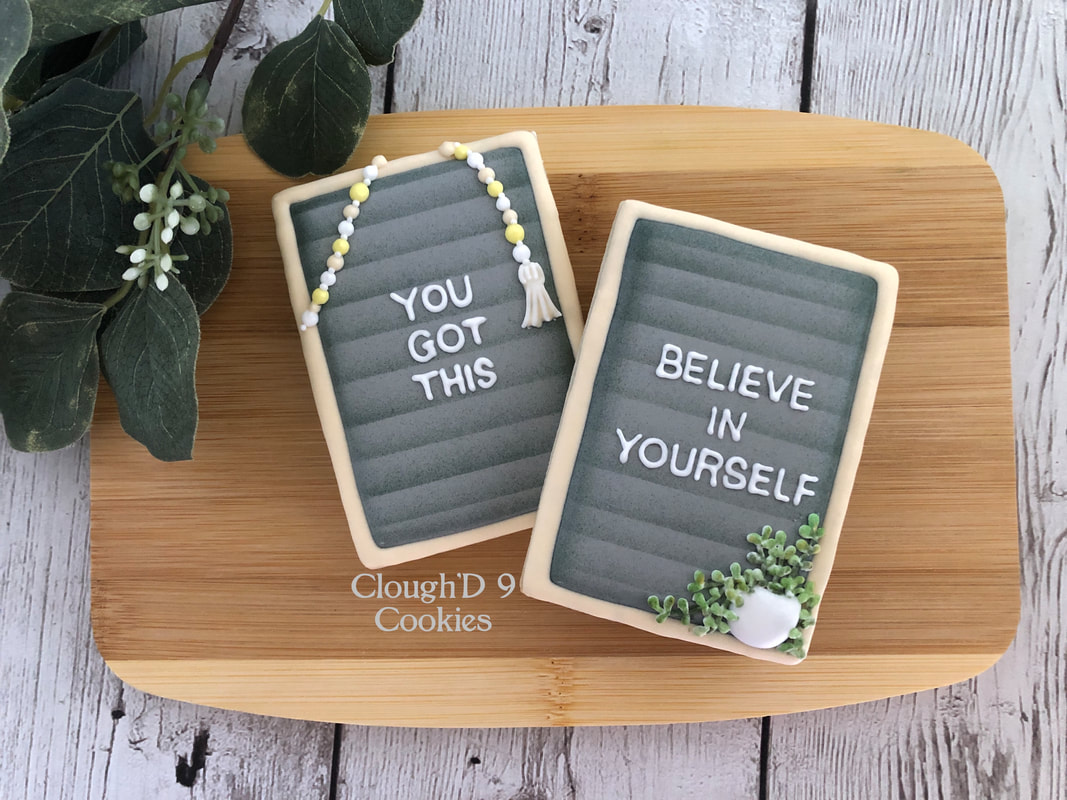 Let these cookie message boards do the talking for you! 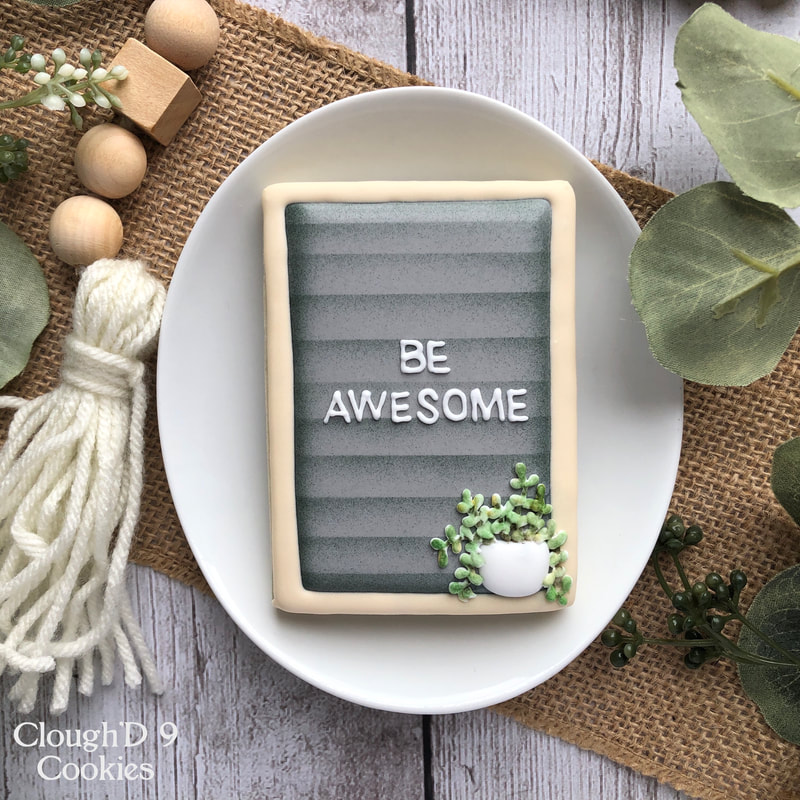
Kate
9/25/2020 04:27:52 pm
This is fabulous, Amy! Thanks for sharing!
Cathy
9/25/2020 06:04:55 pm
I could have sworn it was white on black... you are. Master of dimension Amy! So cute!
Amy Clough
10/3/2020 10:42:16 am
You're welcome!
Stephanie Lang
10/2/2020 07:56:18 pm
You make it look so simple! You work is amazing!!
Amy Clough
10/3/2020 10:42:51 am
It really IS simple!! Try it!! :) Comments are closed.
|

AuthorI'm Amy. Wife, Mom, former science teacher- and now full time cookie baker on Maryland's Eastern Shore. Pull up a chair and we'll create! I'll bring the coffee- maybe Mike (The Cookie Widower) will make it for us. Categories
All
Archives
May 2021
|
 RSS Feed
Copyright © 2024 Clough'D 9 Cookies *All rights reserved*