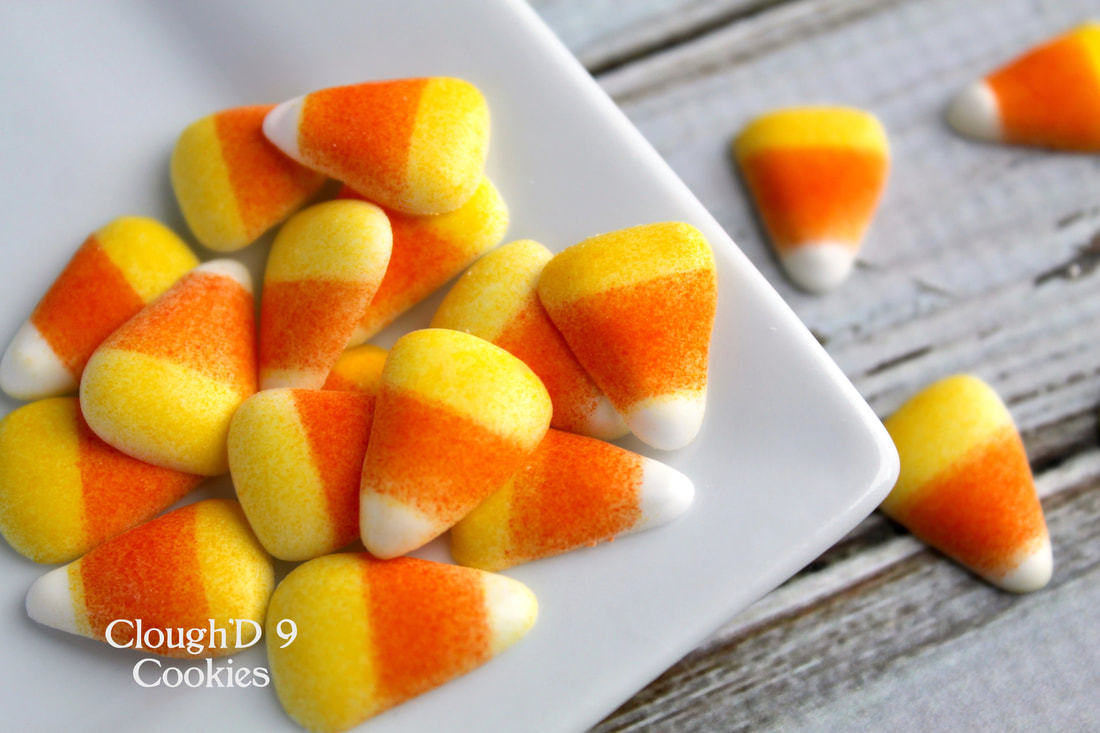
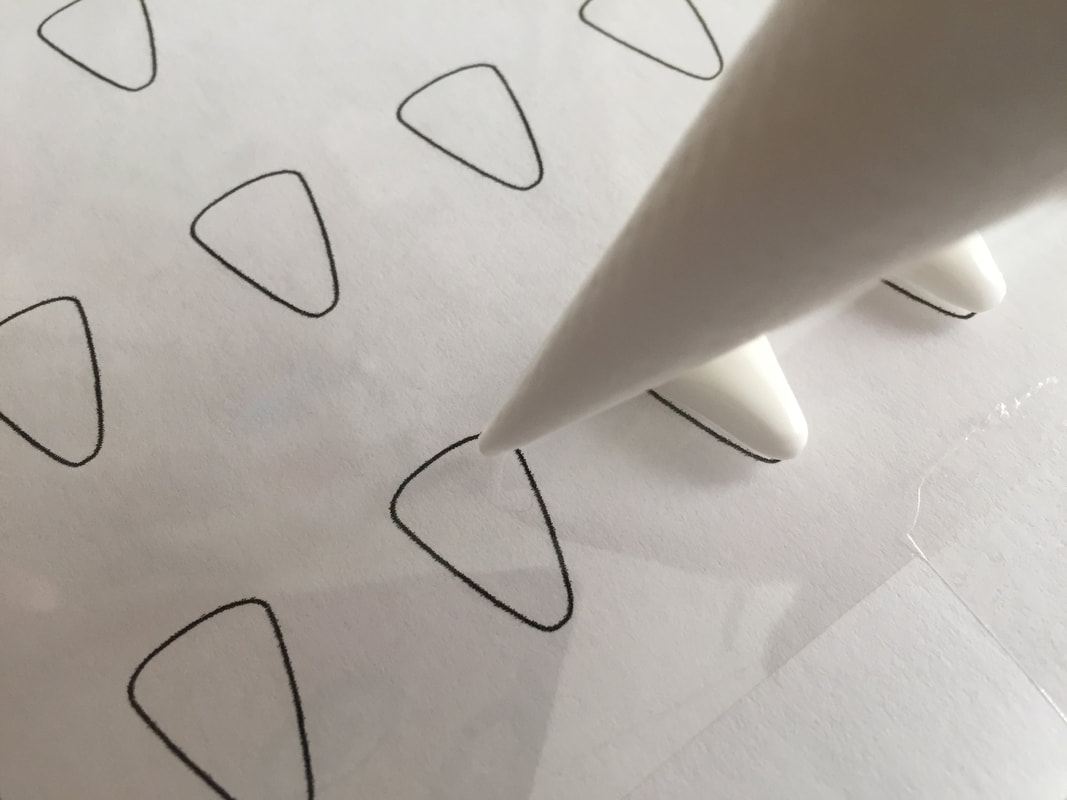
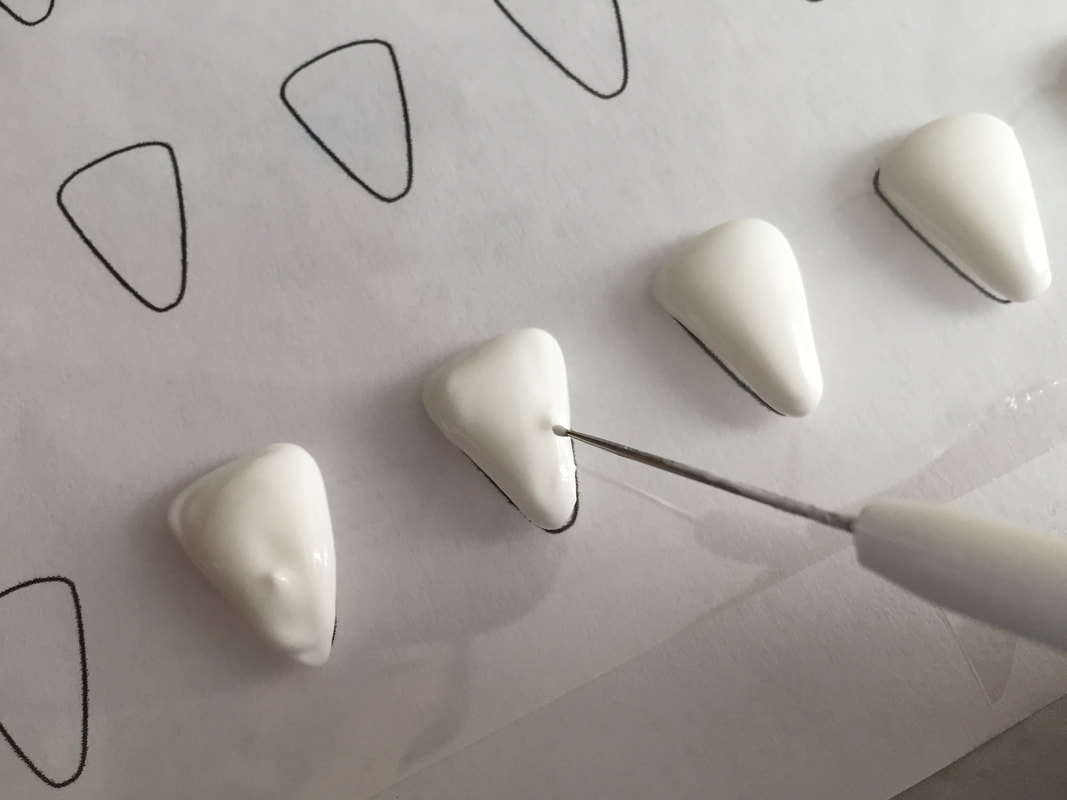
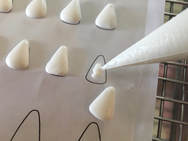
 CANDY CORN. You're either Team Candy Corn or not. Even if you're not on Team Candy Corn, we all can agree that the appearance of candy corn in stores means that fall and Halloween is on the way! So if you like the look of candy corn, but not the taste, there's another option to adorn your decorated cookies this Halloween season- ROYAL ICING CANDY CORN! All of the cuteness of candy corn without the candy corn taste! These royal icing transfers can be made in advance, and are the perfect accent your Halloween cookies. What you'll need: * candy corn template, found here! * parchment paper or acetate sheet * white royal icing, in a 25-28 second consistency; placed in an icing bag with tip * scribe tool or toothpick * airbrush machine * yellow and orange airbrush colors * a "shield"- I used the edge of a another stencil or a piece of parchment, but Stencibelle has some great blockers (including curved and shaped ones) on her page here! * optional: magnets, cooling rack, fan LET'S GET STARTED! 1. Print out a copy of the candy corn template. Place the acetate or parchment on top of the template. I used acetate because it's crystal clear, but parchment paper will work just fine, too! Magnets helped to secure the acetate and template to a metal cooling rack (as my cookie sheets are aluminum and therefore not magnetic). Or you can just tape the template and top sheet on a table or cookie sheet. 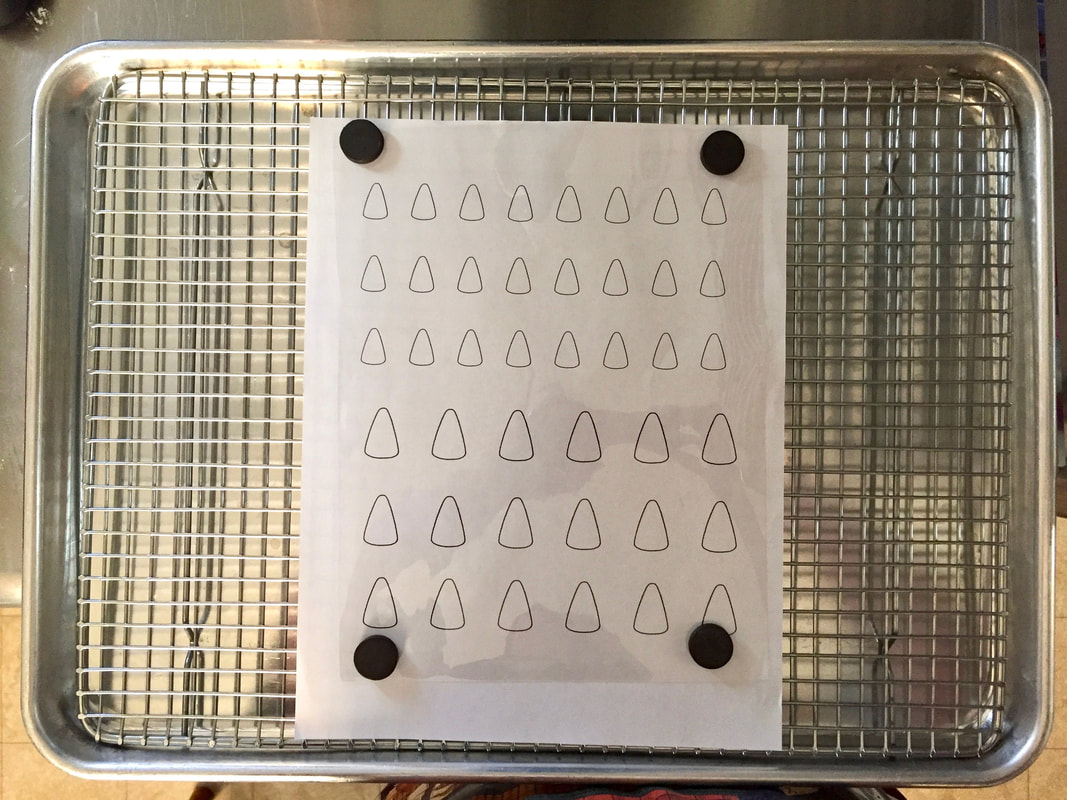 2. Pipe the candy corn shapes with the royal icing. Use the scribe tool or toothpick to smooth any bumpy spots on the icing.
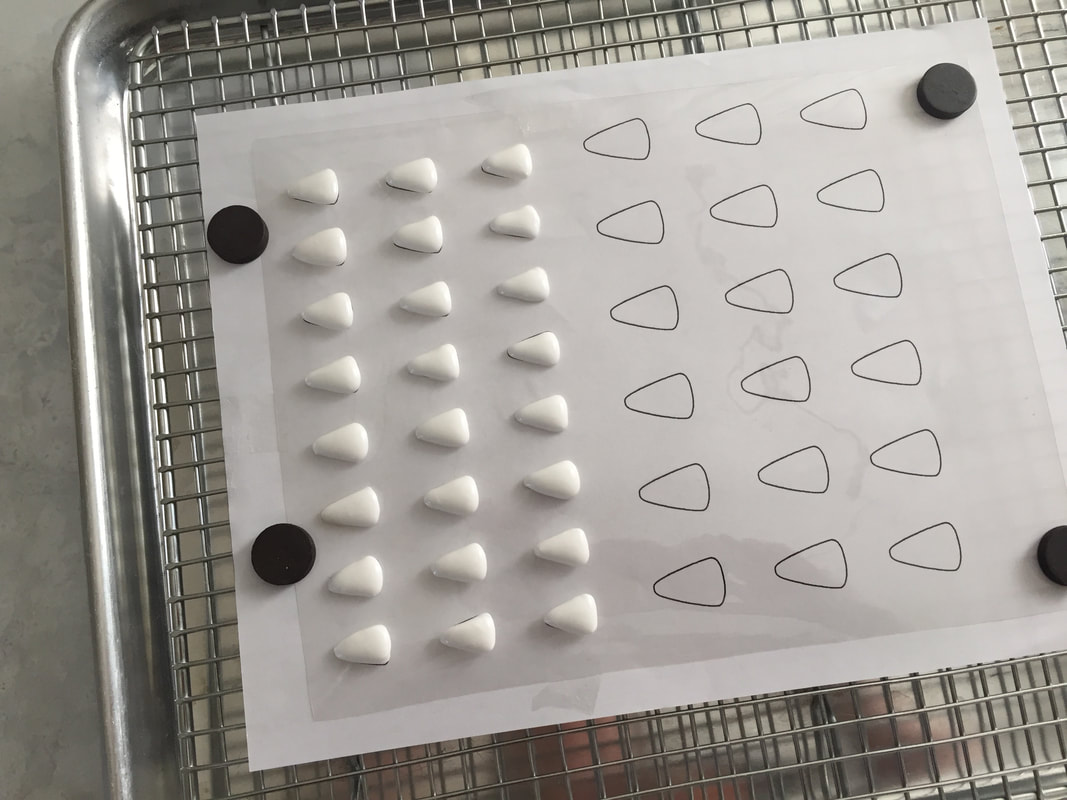
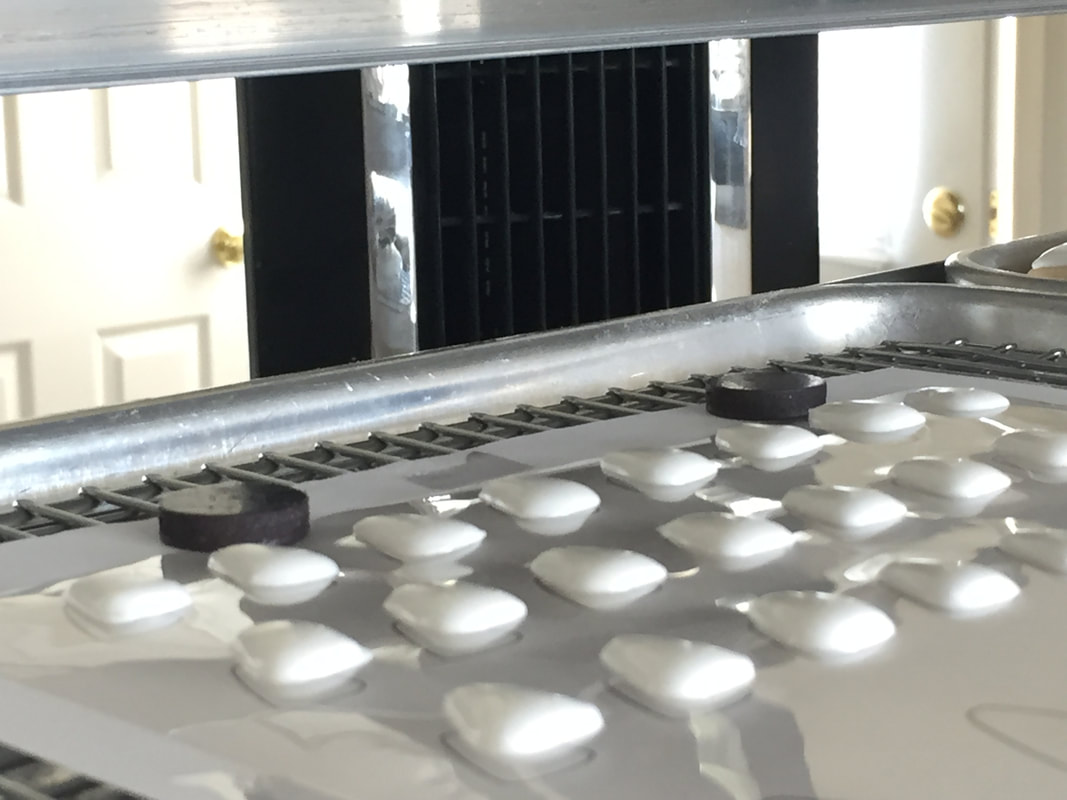
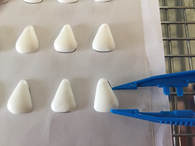
3. After creating the desired quantity of candy corn transfers (remember to make more than you need!), allow the transfers to dry. I like to place them in front of an oscillating fan- here's where the magnets are especially helpful so your hard work doesn't blow away! If you piped your transfers on parchment paper, you can dry them in a very low heat oven (below 200*). Without the assistance of a fan or oven, transfers can take several hours to dry, or even overnight if the icing is thick.
4. After the icing is completely dry, cover the very tip of the candy corn. I used the flat edge from a stencil and secured it in place with magnets. If you have a difficult time controlling your airbrush spray, use a second shield to cover the remaining transfers from getting hit with overspray. 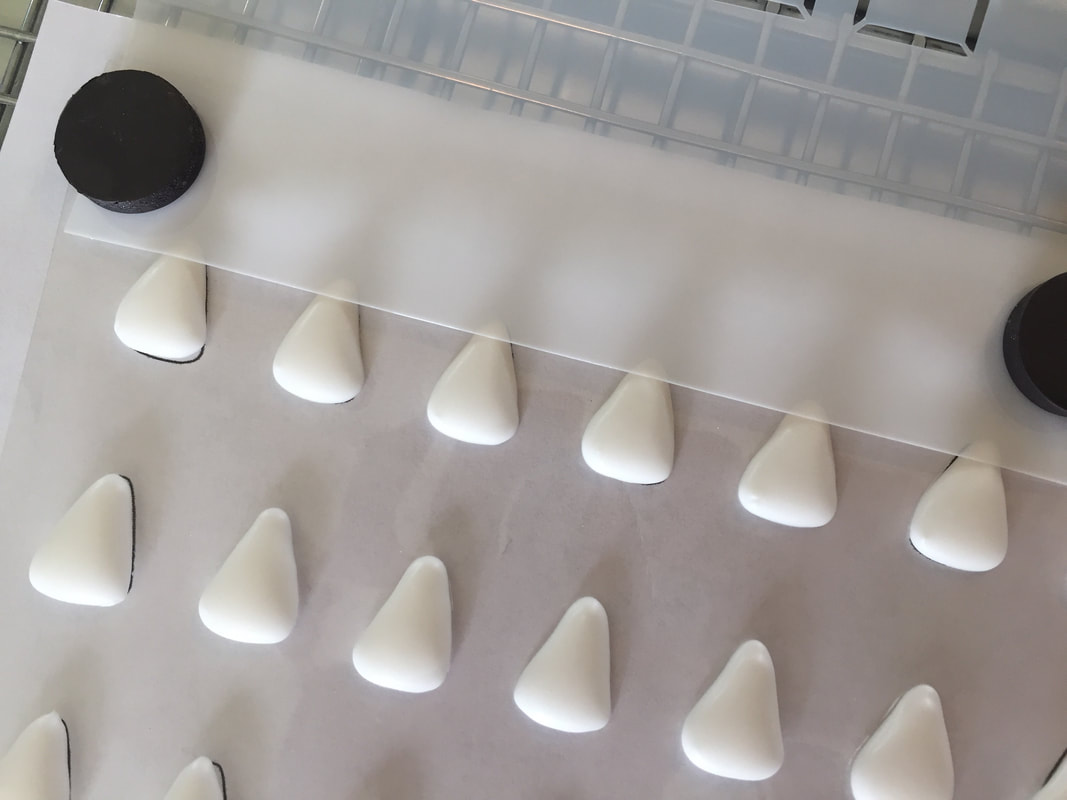
5. Load yellow airbrush color into your airbrush. With your airbrush machine on LOW, gently spray several coats of yellow color onto your transfers. Spray parallel to the shield, with a side-to-side sweeping motion. Multiple light coats of color is always better than thick coats that puddle. Plus, light coats dry quickly. 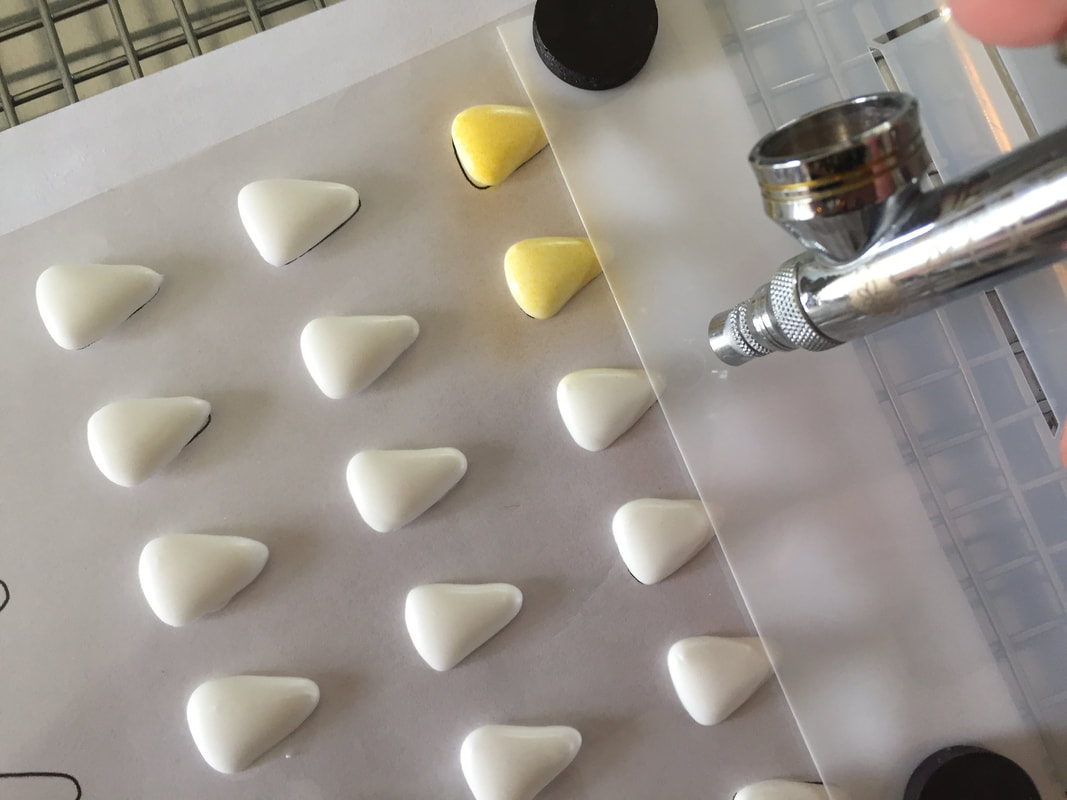 6. Once the yellow airbrushed layer is dry, add a second shield to cover the bottom third of the candy corn shape. You'll be left with an exposed strip in the middle of the candy corn shape where the orange color will be added. 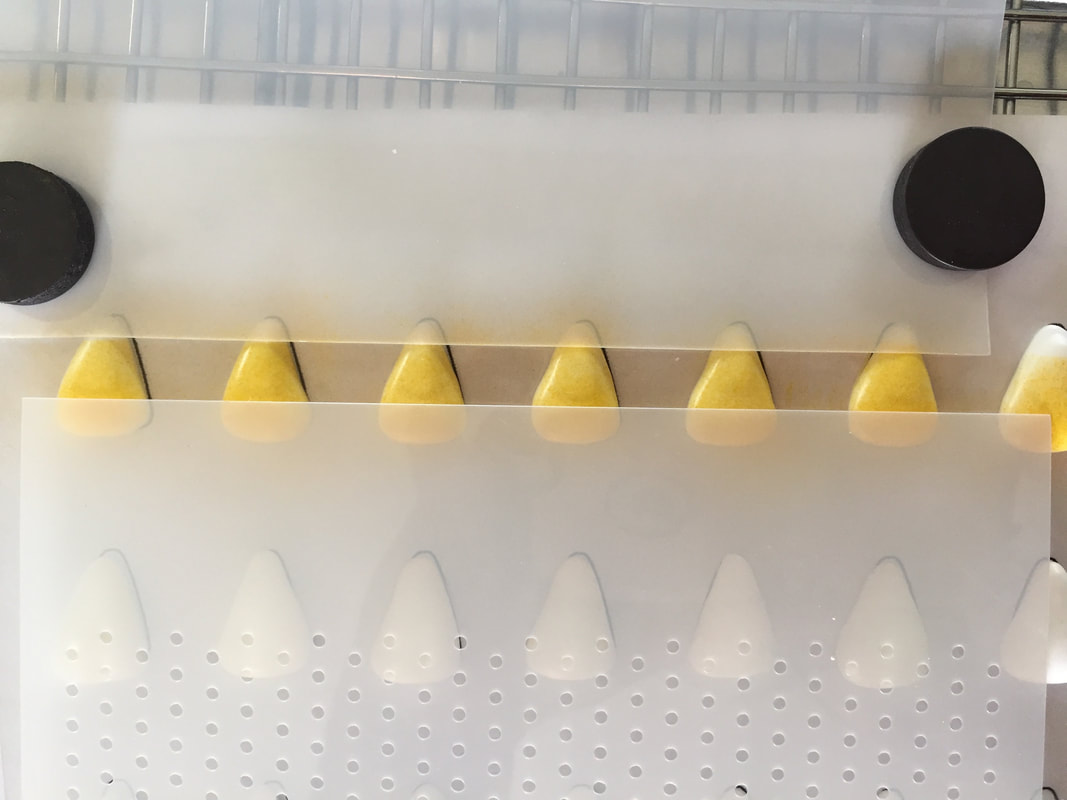 7. Load orange airbrush color into your airbrush. With your airbrush machine on LOW, gently spray several coats of orange color onto your transfers. Yes, you'll be covering the yellow in the middle of the candy corn with orange color. That's ok! Use that same side-to-side sweeping motion to lay down the orange color. 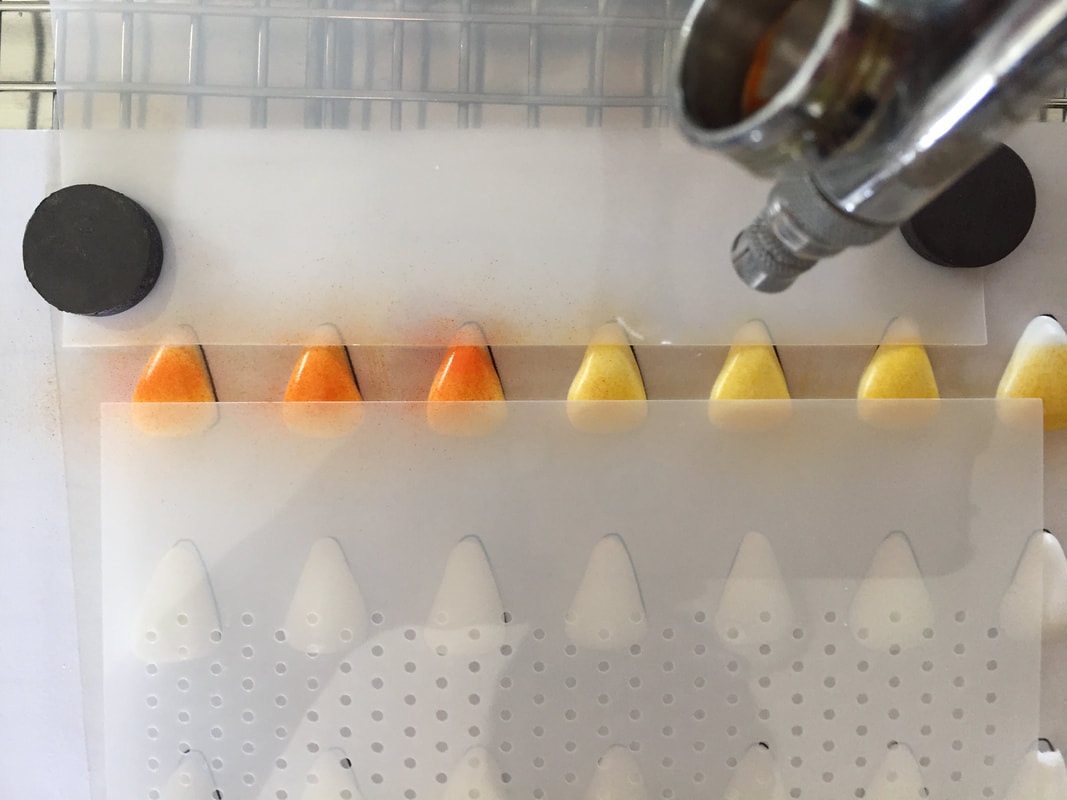 8. Carefully remove the shields and allow the transfers to dry. Oh my goodness, they're soooo cute! 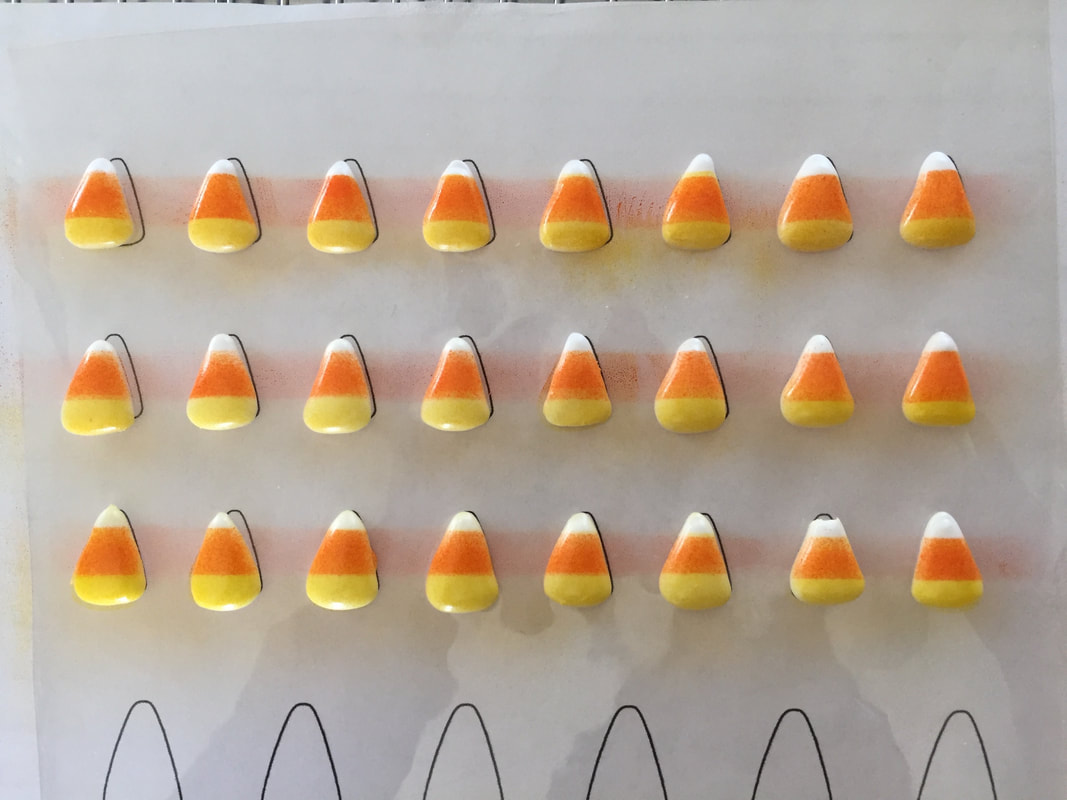 9. After the color has dried, the transfers can be easily popped off the acetate or parchment paper with an offset spatula or edging tool. You can now affix your transfers to your cookies using royal icing or piping gel. You can drop them onto a fresh icing flood, or even use them as accents on your cookie platters! 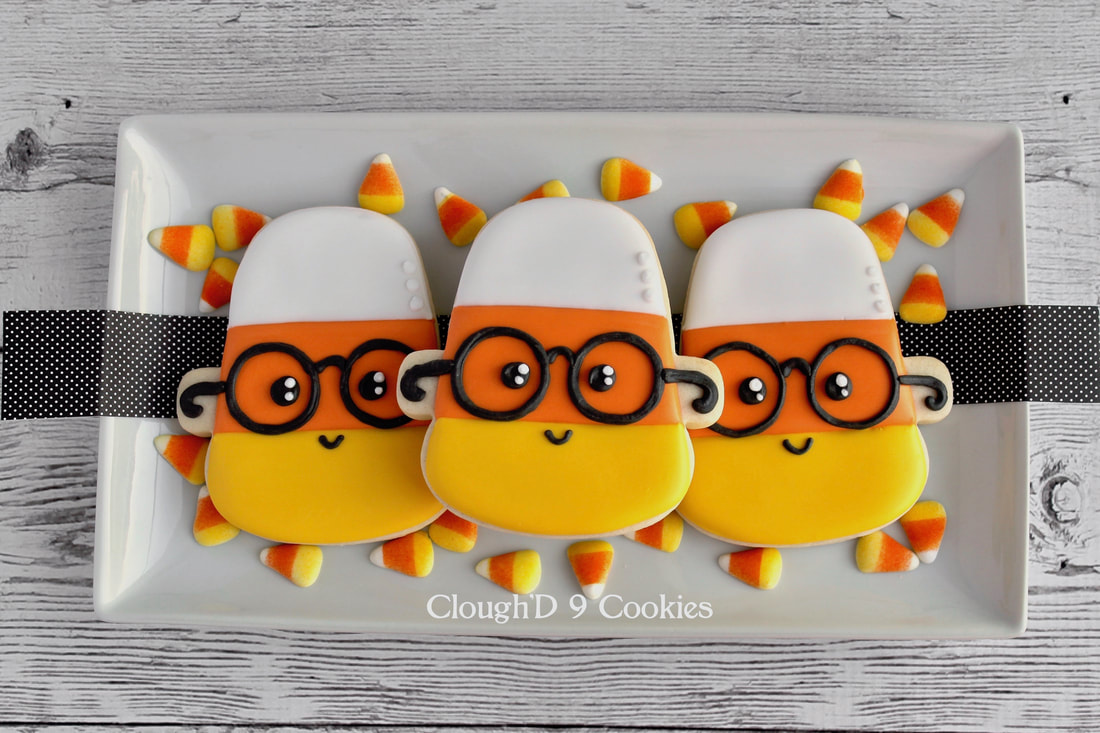 FYI: I made these nerdy candy corn cookies from the Frankenstein/pilgrim boy cutter from this set. 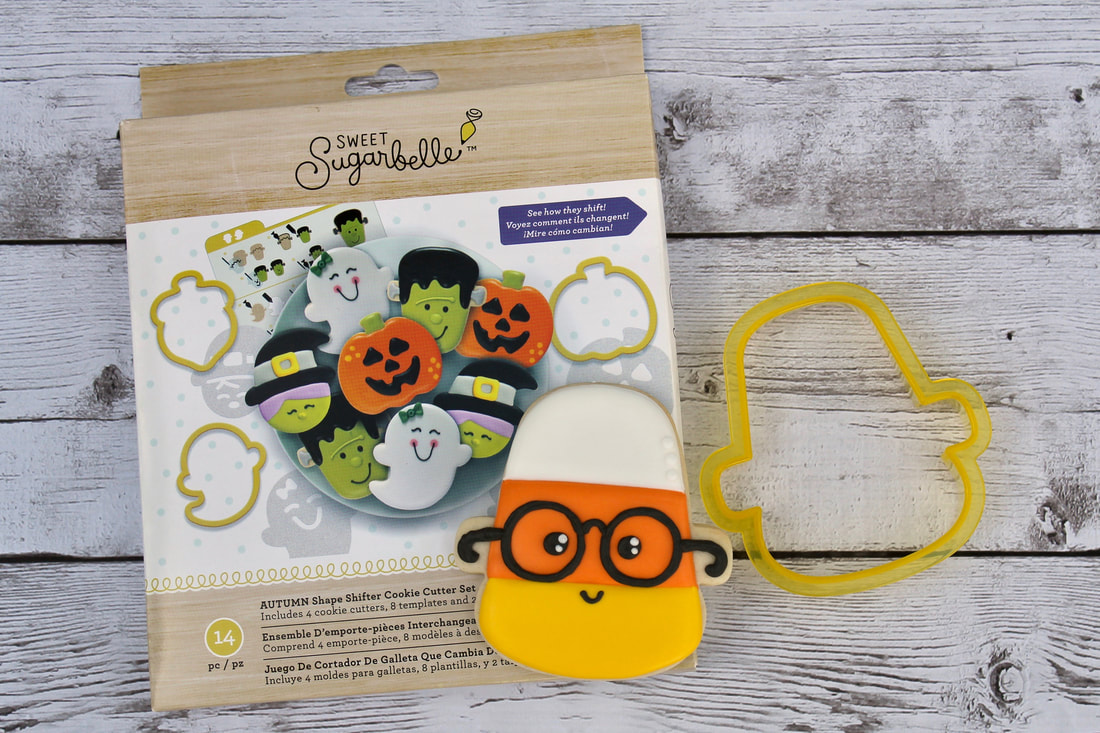 Let's take a side-by-side comparison of the candy corn transfers vs the real thing! 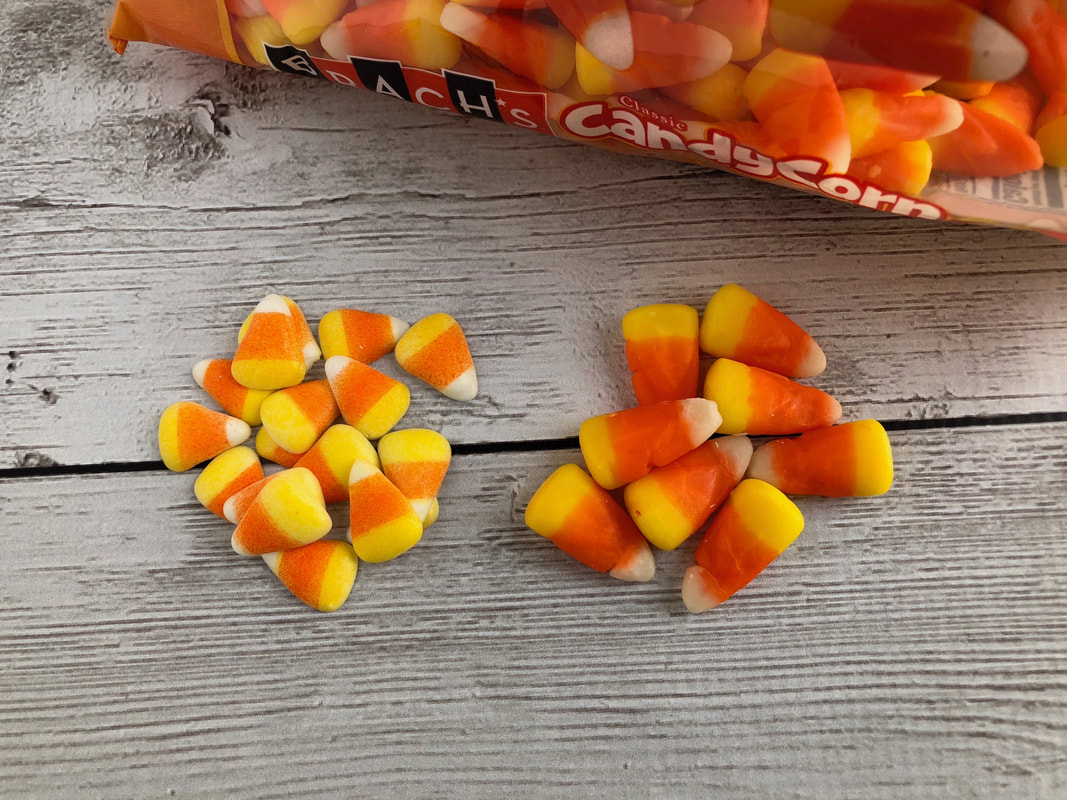 Am I on Team Candy Corn? You bet! And here's my favorite way to eat them- with a small dollop of peanut butter. The candy corn + peanut butter tastes just like a Butterfinger candy bar (minus the chocolate). It's SOOOOO good! 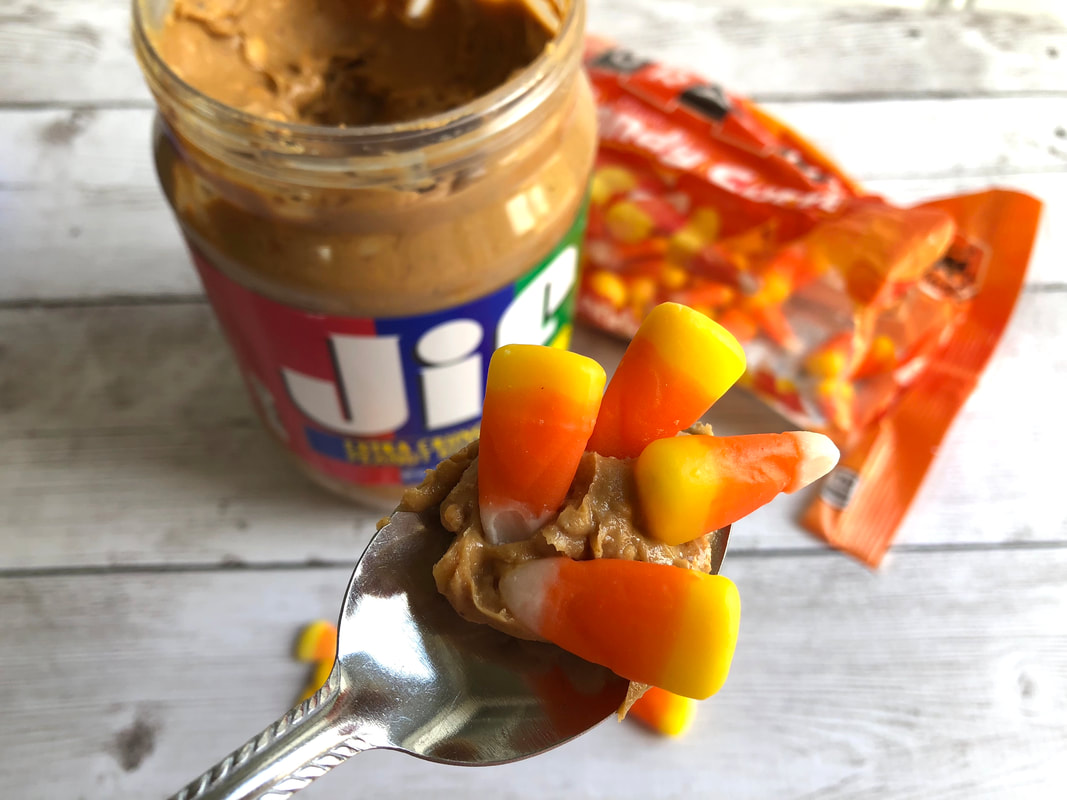 I can't wait to add these little candy corn transfers to many Halloween cookie sets! 
Kathy
10/12/2018 09:13:29 pm
Such a cute idea!!! Thanks for the tutorial and the template. BTW, I love candy corn too and if you eat one candy corn with a couple of peanuts, it tastes just like a Payday!
Susan Simser
10/15/2018 02:13:12 pm
Awesome post and blog. How do I sign up for your newsletter?
CLAIRE
10/6/2020 04:16:41 pm
Hello Amy....have been looking for a candy corn template and knew you would have one.....love this......thank you SO much. Using it for a Gnome. Xxx Comments are closed.
|

AuthorI'm Amy. Wife, Mom, former science teacher- and now full time cookie baker on Maryland's Eastern Shore. Pull up a chair and we'll create! I'll bring the coffee- maybe Mike (The Cookie Widower) will make it for us. Categories
All
Archives
May 2021
|
 RSS Feed
Copyright © 2024 Clough'D 9 Cookies *All rights reserved*