|
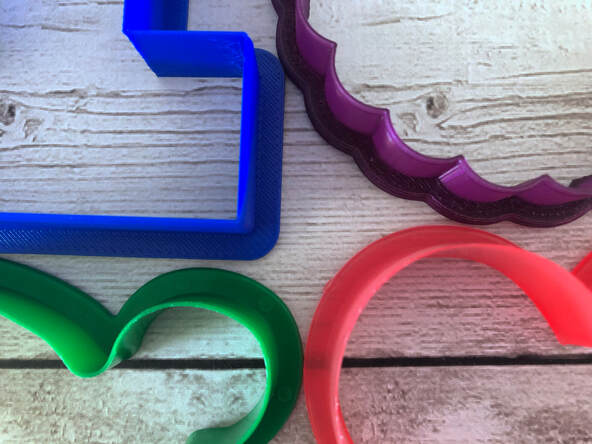
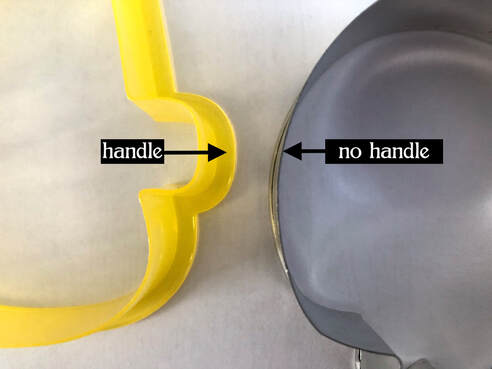
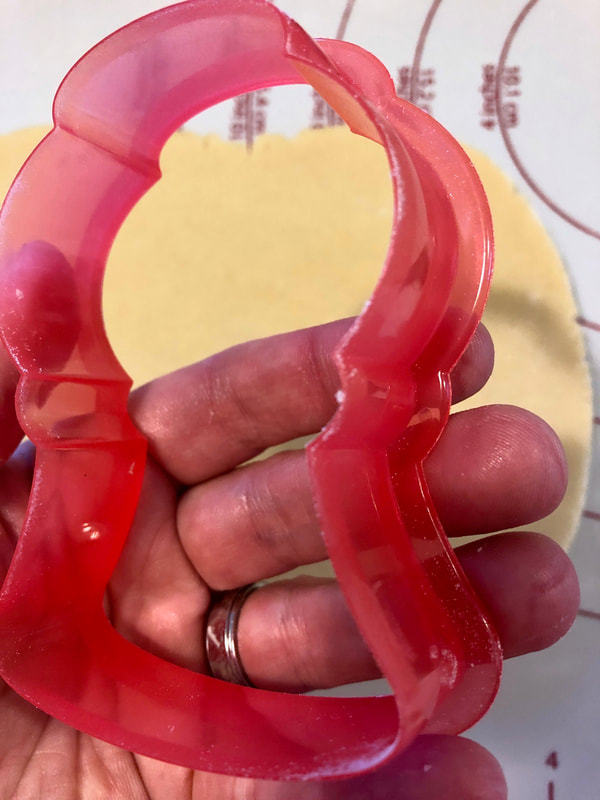
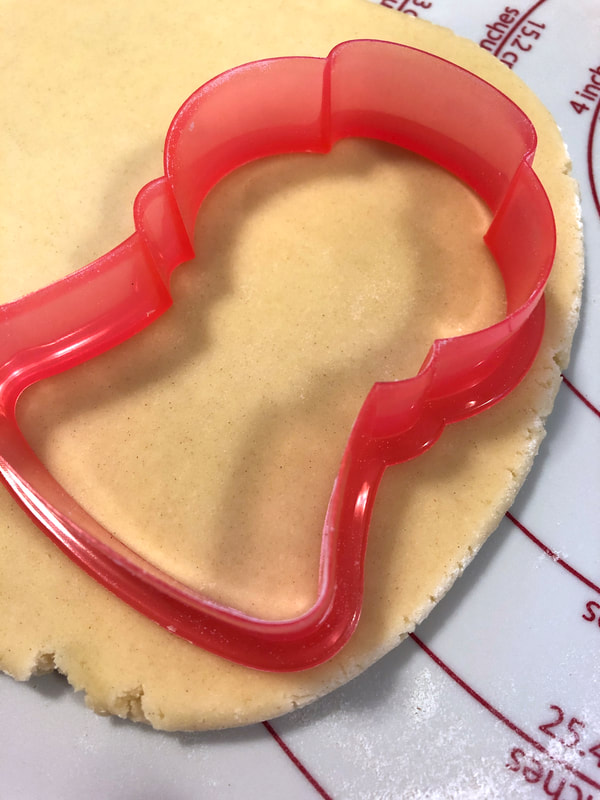
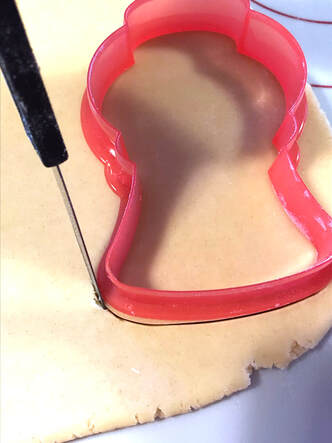
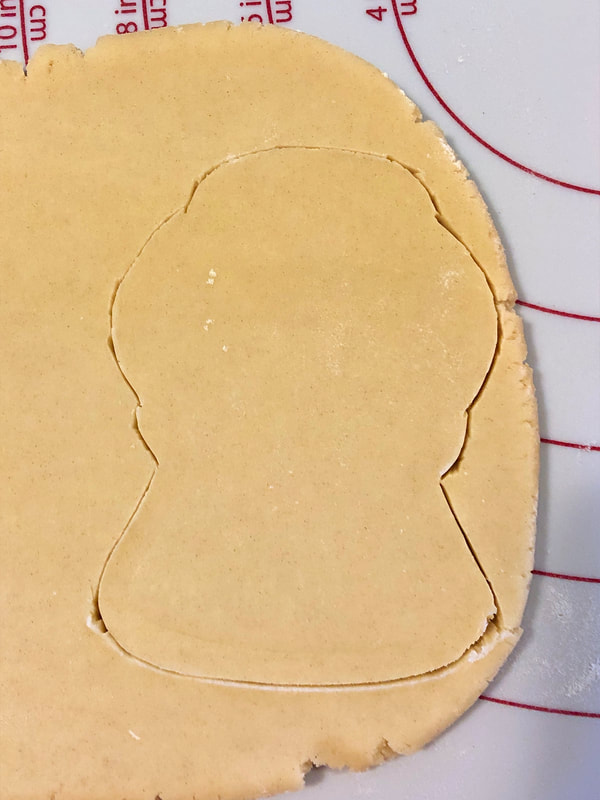
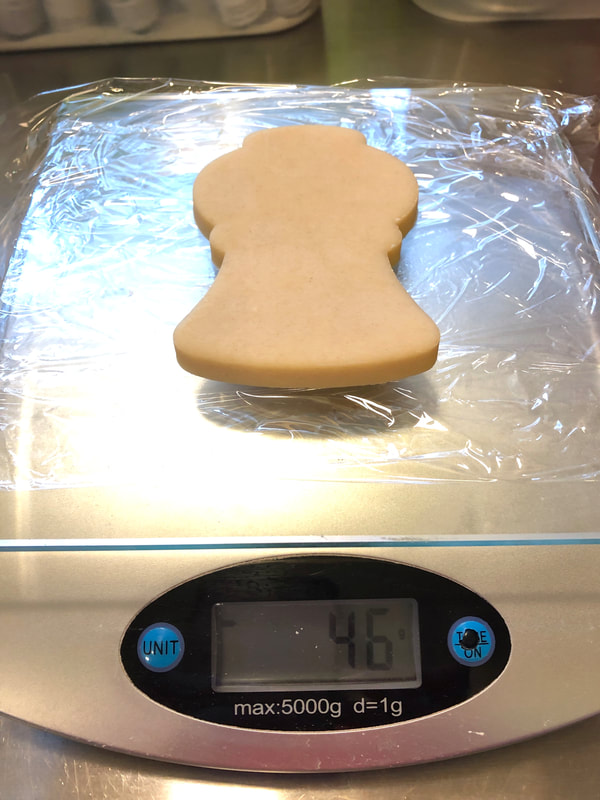
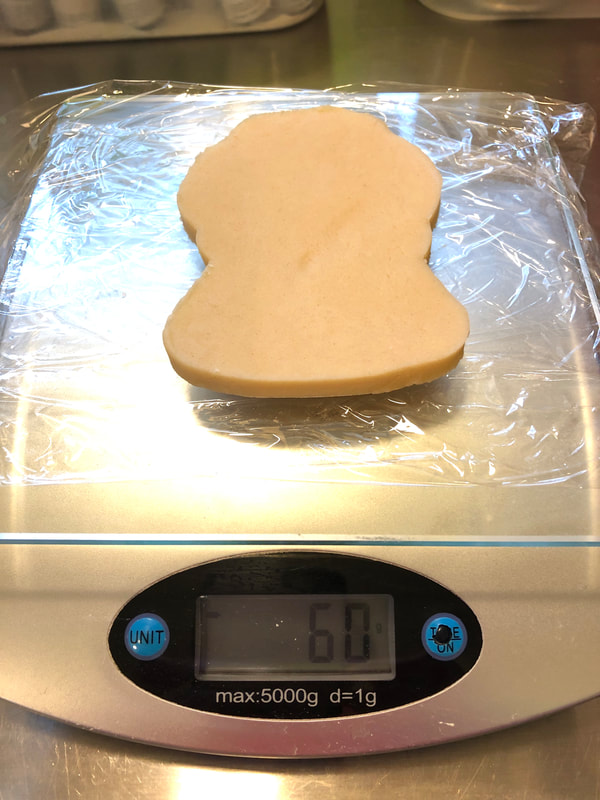
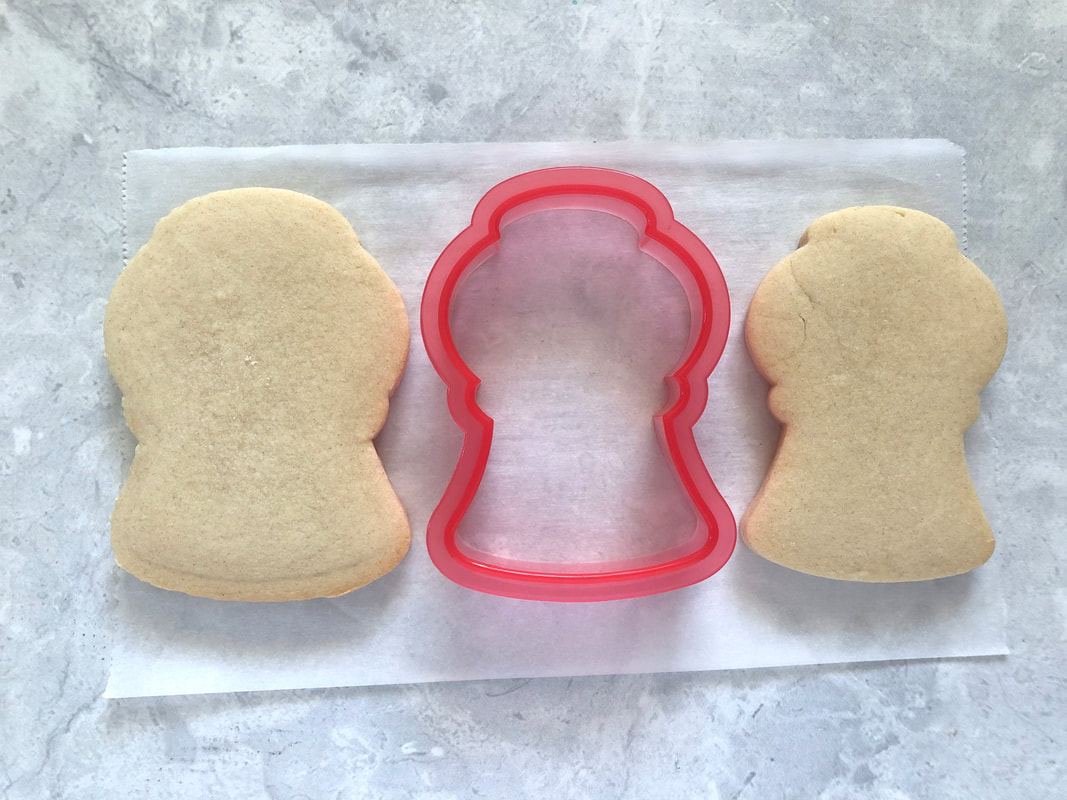
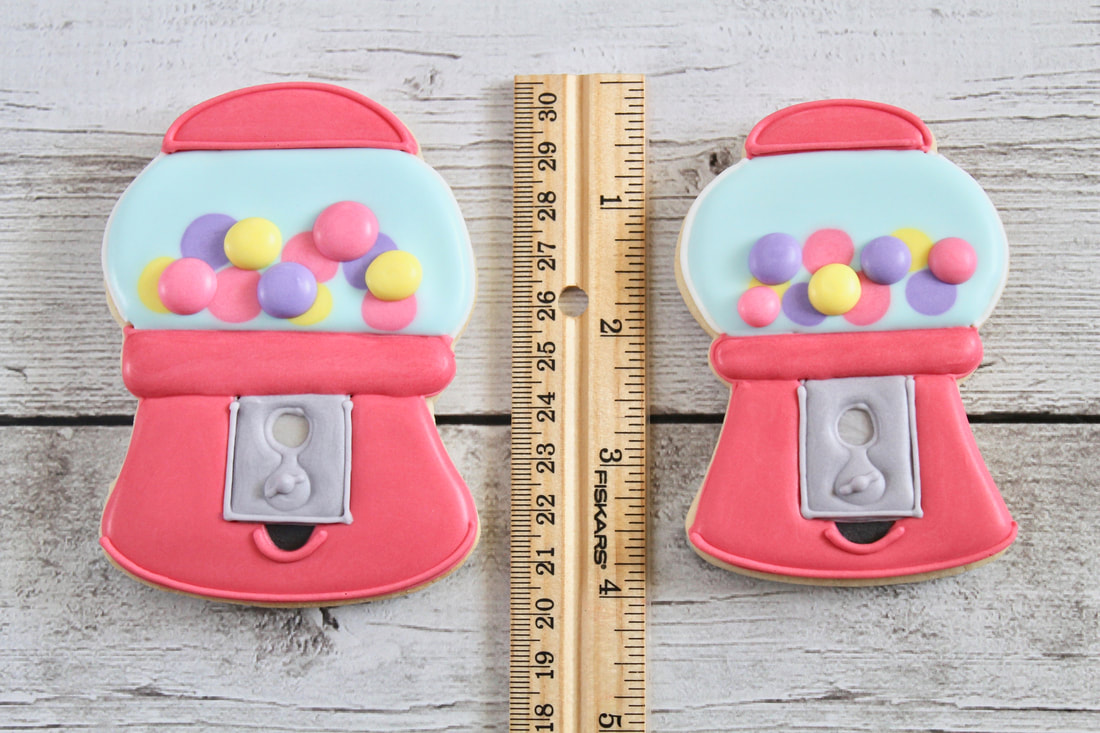
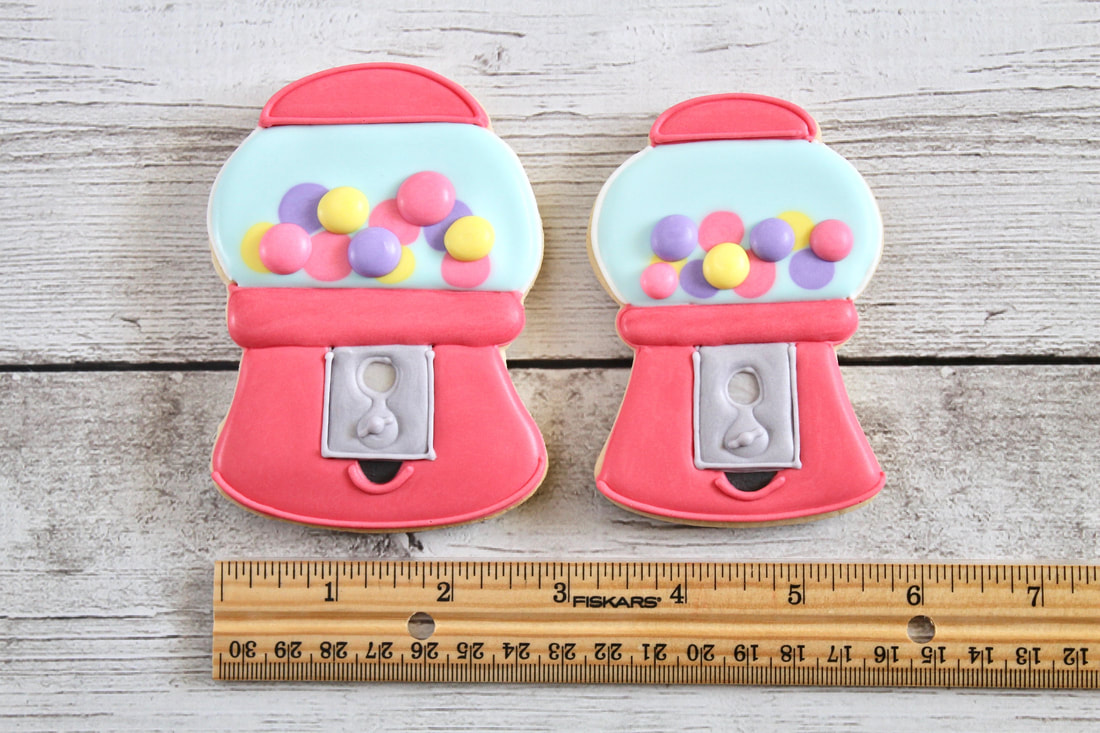
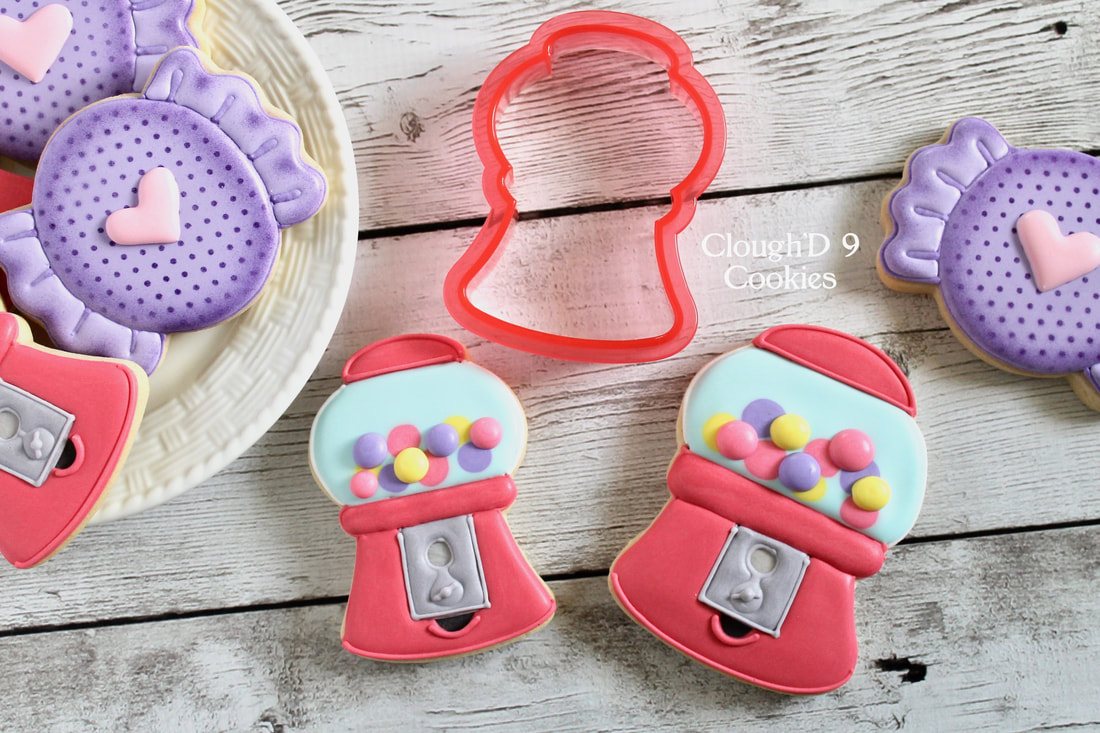
We all know that cookie cutters are made differently. Some are made with molded plastic, some are made with bent metal, some are created with a 3D printer. I genuinely don't have a preference of plastic over metal- there are pros and cons to both. However, there is one feature of some plastic cutters that I like- a HANDLE! Oh wait, you didn't know that some cutters have handles? Let me show you! The handle on a cookie cutter is a lip (typically around 3/8" wide) that is opposite of the cutting edge and it follows the perimeter of the cutter. When you press these cutters into the dough, your fingers can wrap around the handle to easily lift up the cutter. Typically, metal cutters do NOT have handles (unless it's a rubber grippy kind that can actually be removed). SOME plastic cutters have them; some mass-produced molded plastic ones (like Wilton and Sweet Sugarbelle branded) and some 3D printed ones (Sinful Cutters and Bobbi's Cutters, to name a few). But for me, that handle is more than just an easy way to lift up a cutter. It's a way to double your cutter use! I wanted to use this Sweet Sugarbelle cutter for a gumball machine cookie, but it was a little too small for me. Instead of using the cutting edge of the cutter, I laid the cutter on my dough upside down, with the handle resting on the dough. Using a paring knife, I cut around the handle of the cutter. The resulting cookie shape was definitely bigger than one made with the real cutting edge. But it retained the same basic shape, just a little rounder. Here are the two cutter sizes, decorated in the same manner. There are obvious differences between them, but the hand-cut shape works just fine! A few tips: 1. Roll out a disc of dough and chill it for 10-15 minutes, then hand-cut your shapes. Your cuts will be smoother, leaving the cut edge less jagged, and the overall shape less distorted. 2. Carefully select your cutting tool and what you're cutting the dough on. A dull paring knife on my Pampered Chef mat works for me. A sharper cutting tool will cut through the dough AND what your dough is resting on. Don't be like me and use a brand new PenBlade on an expensive silicone mat. You'll end up buying a new mat because you'll slice and dice through your mat. Trust me on this one. 3. Keep in mind the shape of your cutter. This technique will work great for some, but not all shapes. A really bumpy-edged cutter will lose some of its definition. You can always trace the handle of your cutter on paper to test how it will look before you cut and bake dough. So don't be dismayed that you don't have the "perfect" sized cutter- you might just need a hand(le)!
Erin
5/5/2020 11:13:12 am
Another great way to increase a cookie cutter's size. :)
Ruth Steiner
2/27/2023 05:38:54 pm
My sister and I still have our grandmothers old cookie cutters. The metal kind with a handle going up and down the top. Cannot get used to others. Comments are closed.
|
AuthorI'm Amy. Wife, Mom, former science teacher- and now full time cookie baker on Maryland's Eastern Shore. Pull up a chair and we'll create! I'll bring the coffee- maybe Mike (The Cookie Widower) will make it for us. Categories
All
Archives
May 2021
|
Copyright © 2024 Clough'D 9 Cookies *All rights reserved*


 RSS Feed