|
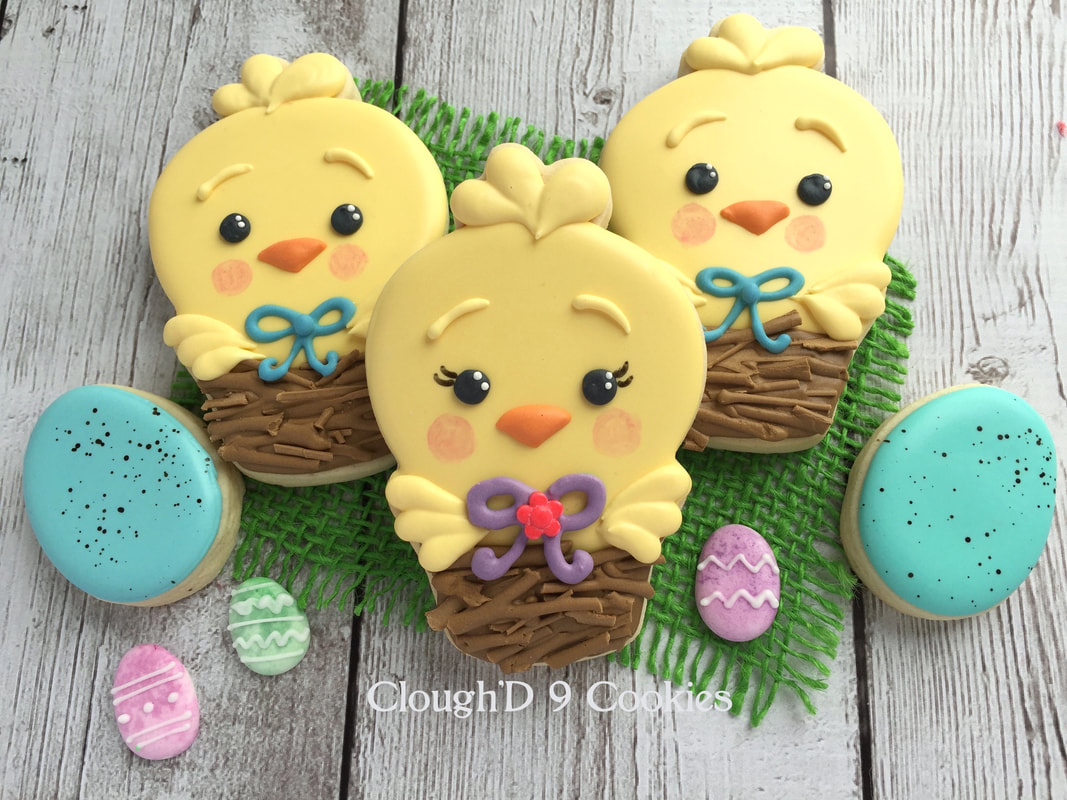
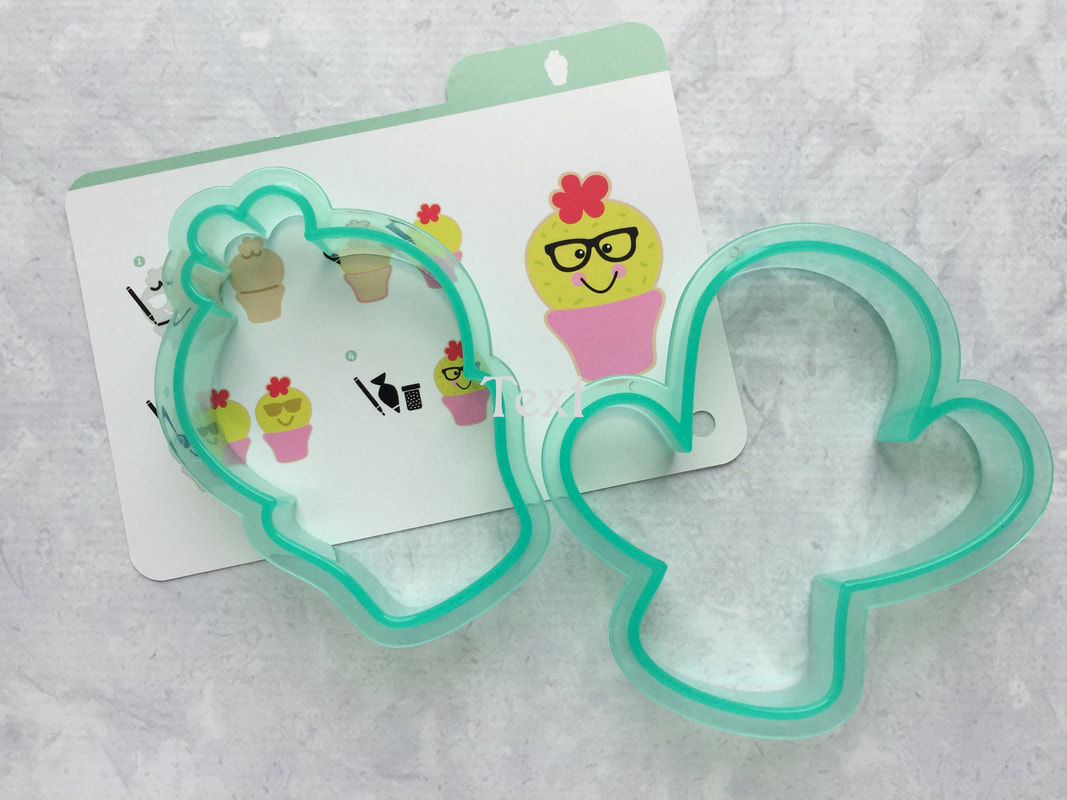
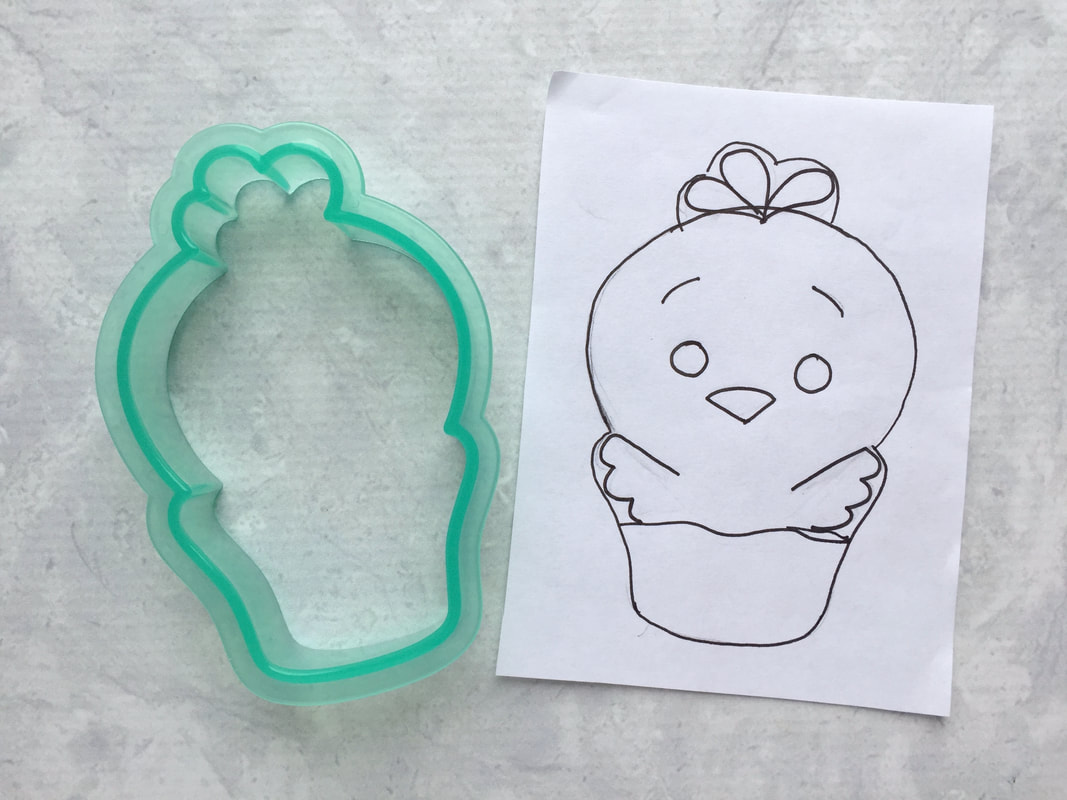
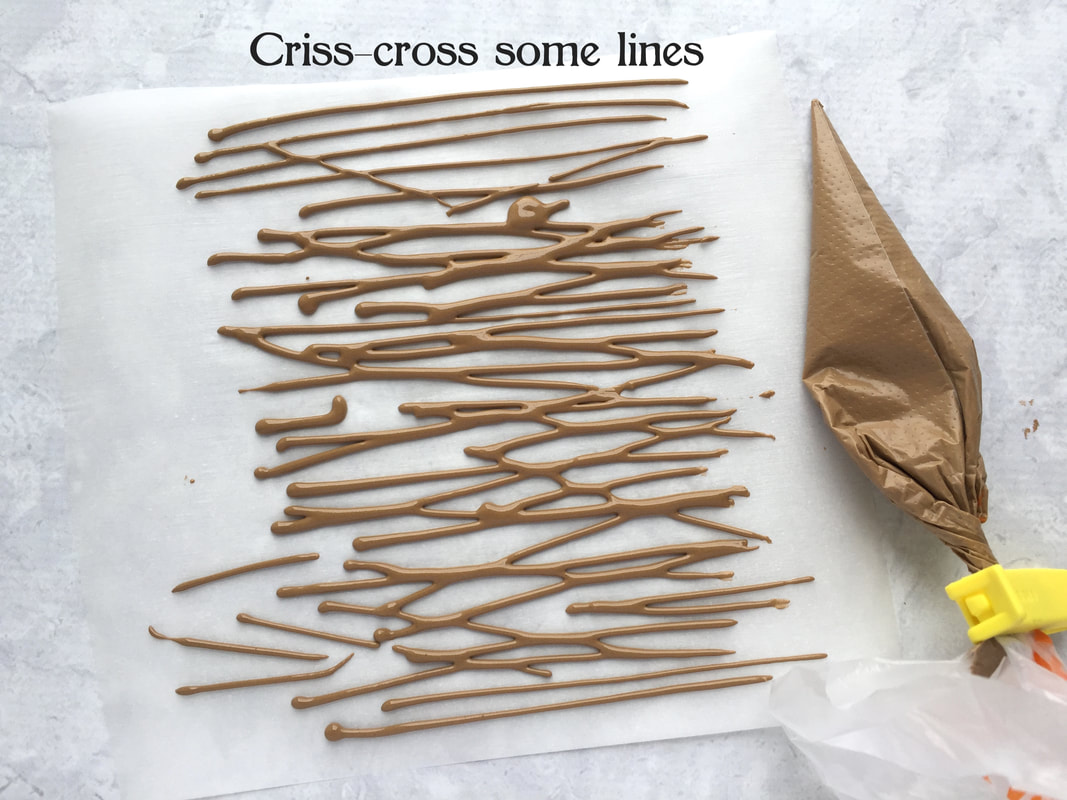
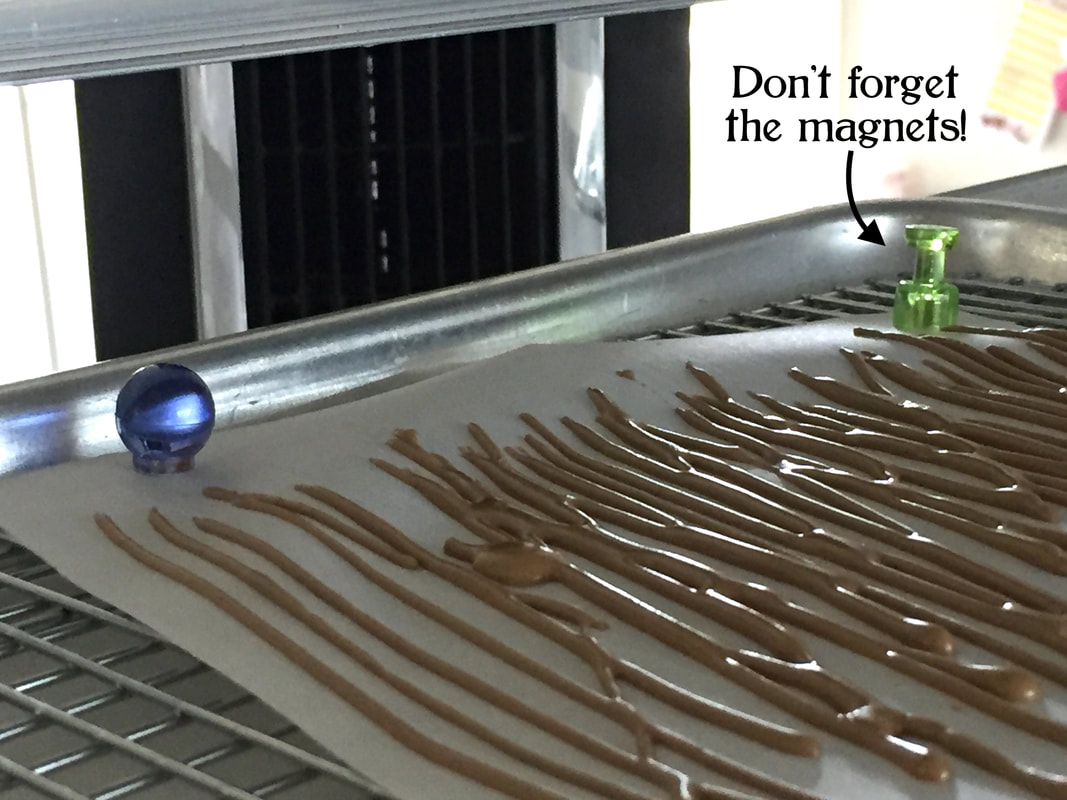
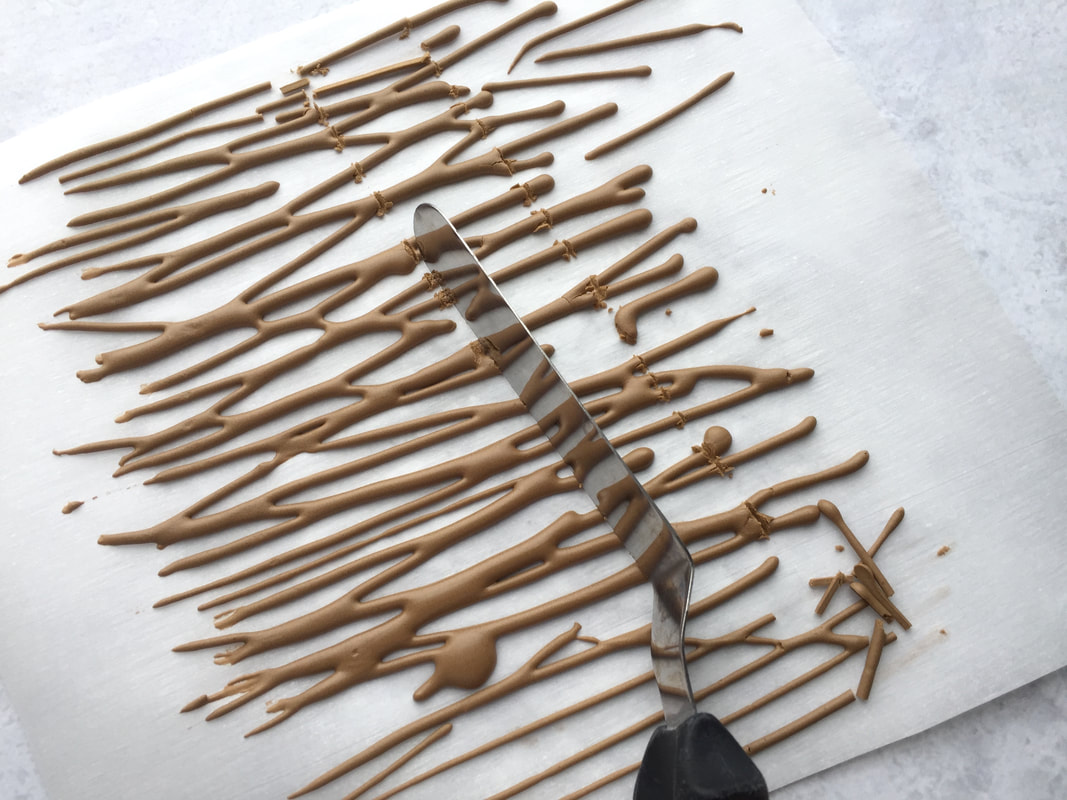
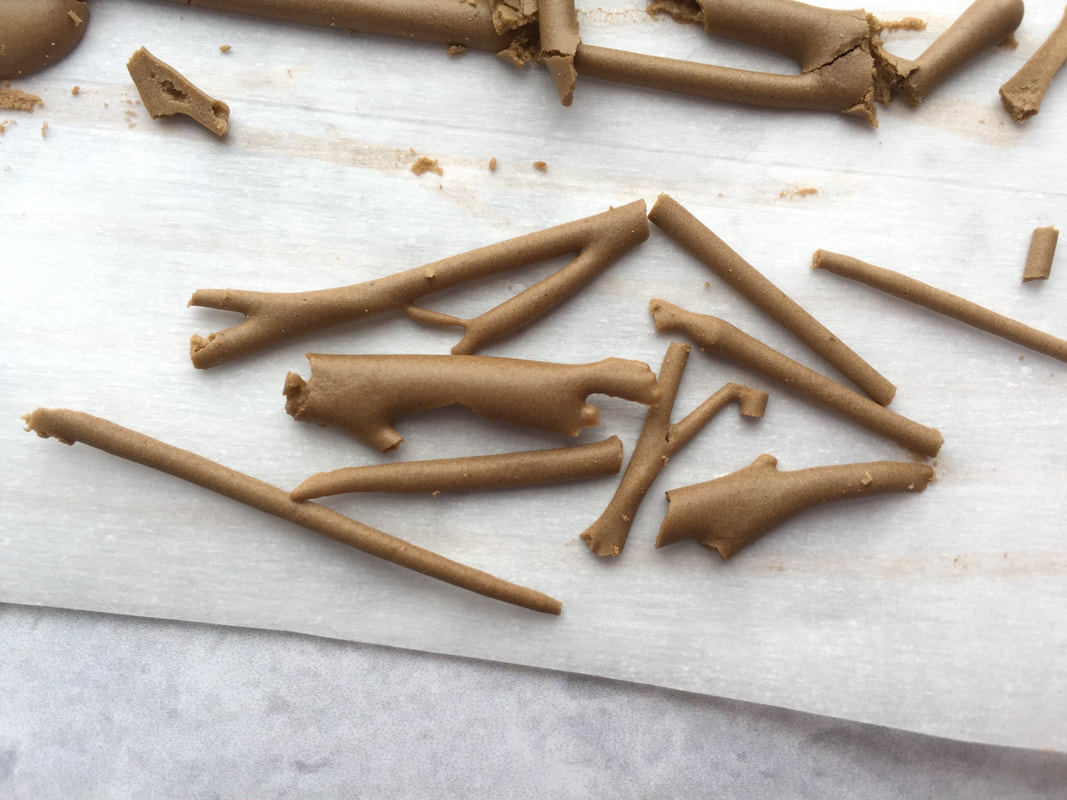
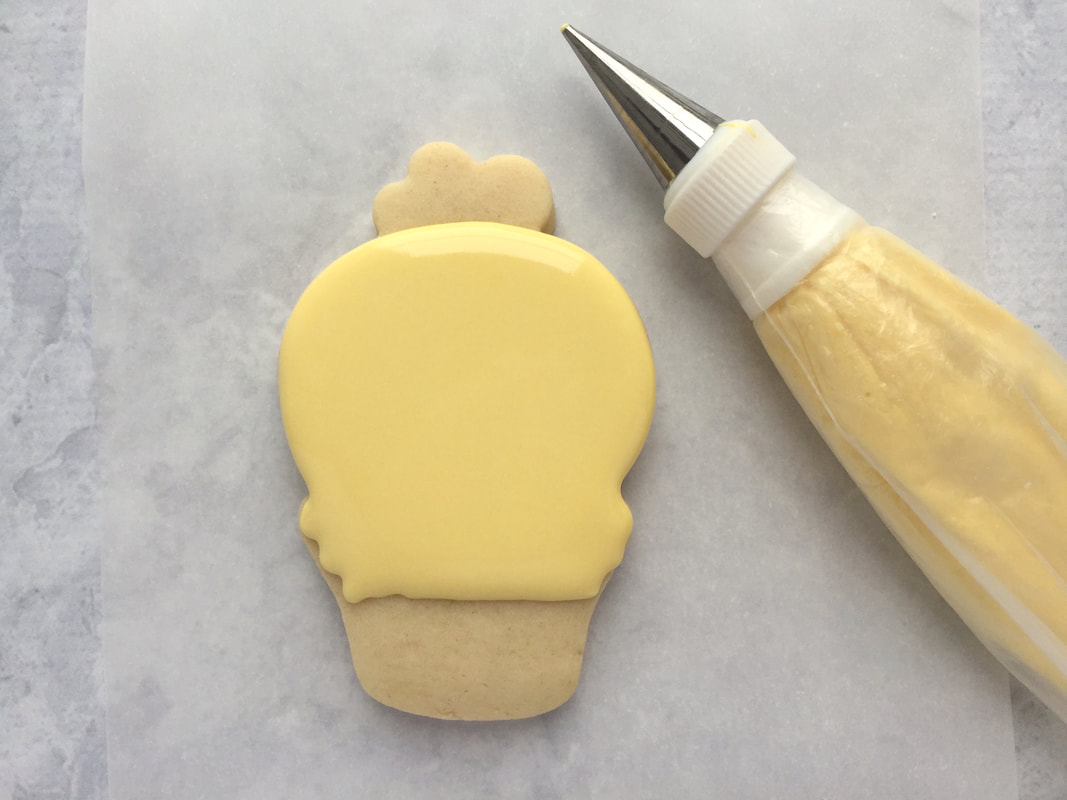
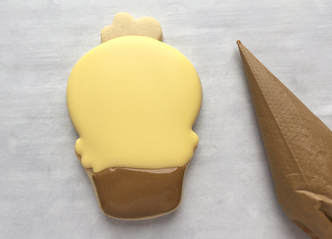
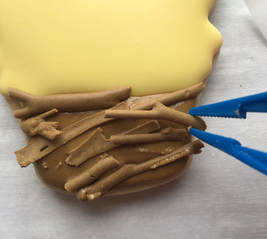
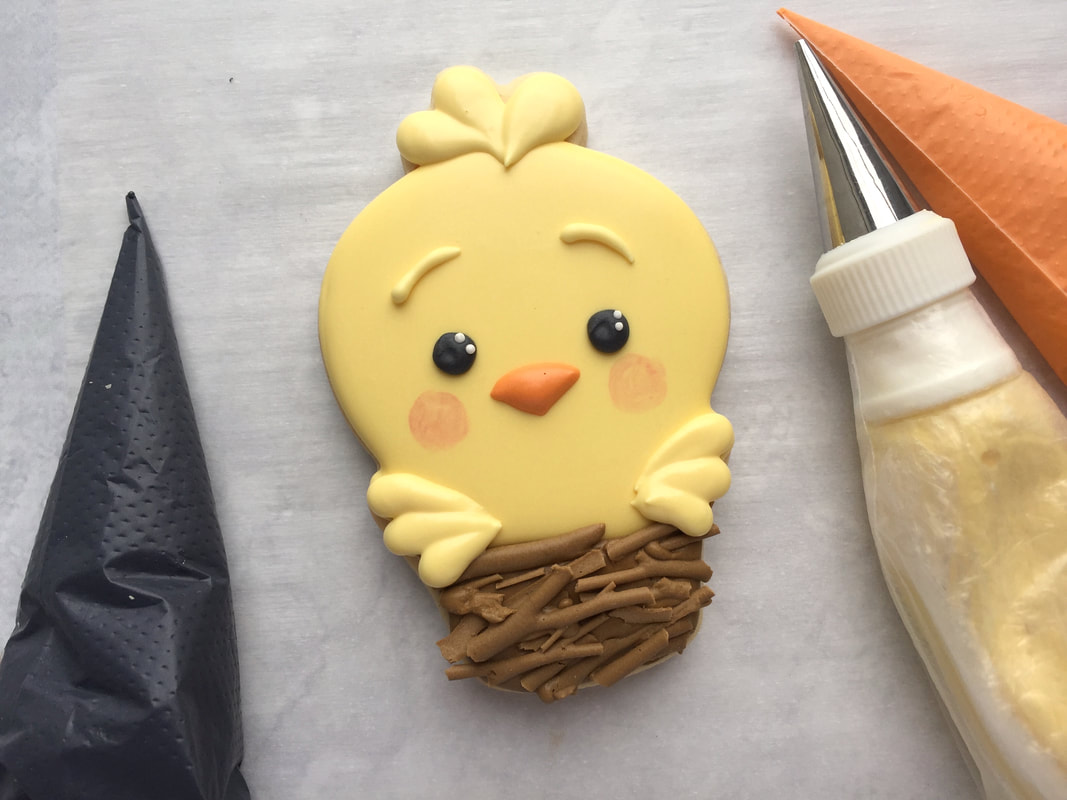
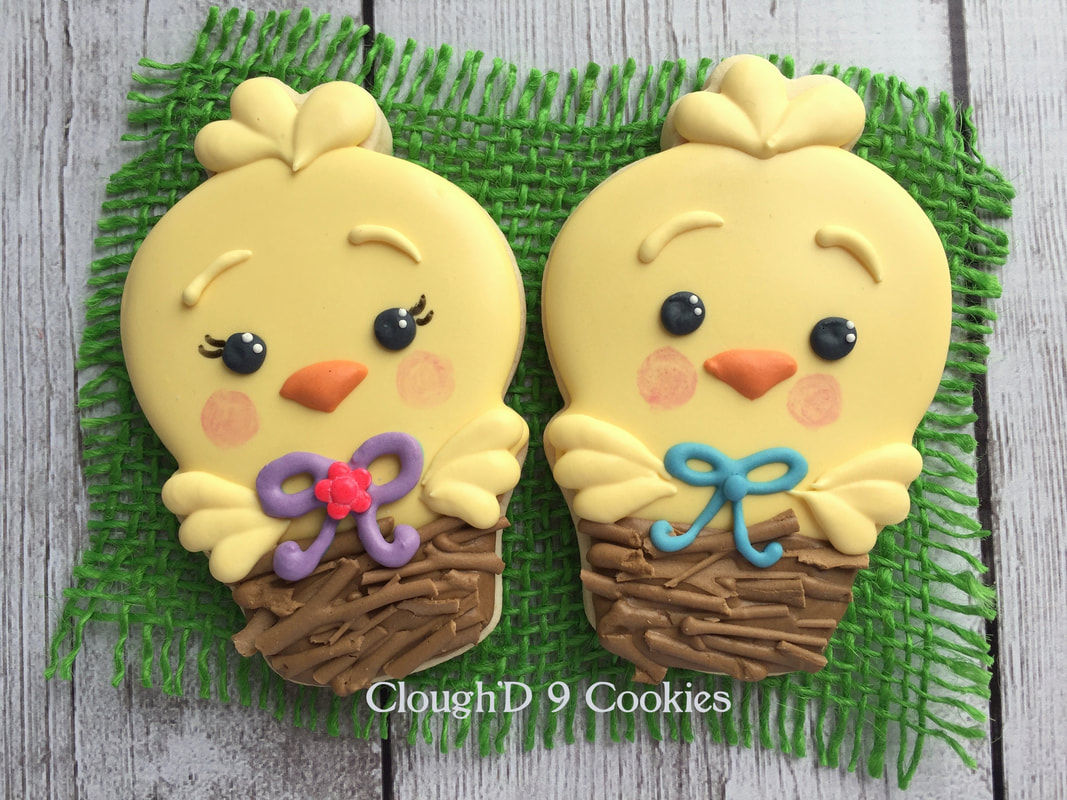
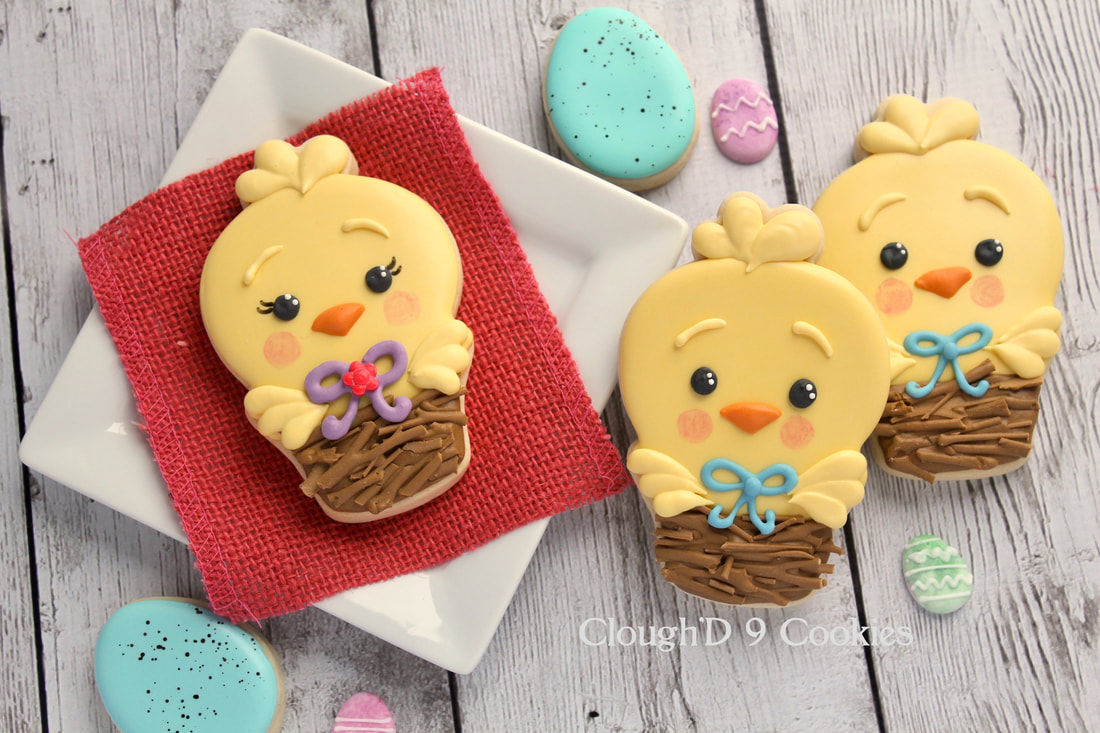
One of my tricks in creating new, cartoony designs is to exaggerate one or more qualities of the character. Big nose, little eyes, tiny body, big head- all of these characteristics can make your design cute and whimsy. Plus, it takes away some of the pressure to make proportions just right. You might just recognize the cutter I used to make this little chick! It's the round potted cactus from Sweet Sugarbelle! It makes the perfect fat chick in a little nest. Maybe they live down by the river? Sorry- I saw a Chris Farley clip the other day 😂. What you'll need: * Baked cookie shapes * 20-second icing in yellow and brown, and tiny amounts of black, orange, and accent color of your choice * Parchment paper * offset spatula or knife. Let's start with the nest! There are lots of ways to make bird nests (like this one from LilaLoa), but I wanted to try something a little different. I love texture contrast between the chick's head and the bumpy nest. My method is definitely a little more fragile, but it's fun to try! 1. Make some icing lines on parchment paper. This is a popular start to make your own sprinkles, as detailed in this blog post from the Bearfoot Baker. BUT, for my nest application, criss-cross some of your lines! Allow them to dry. You could let them dry on their own for a few hours, use a dehydrator, or even a slightly warmed oven. I like to use my fan. If you go the fan route, remember to use magnets to hold down the parchment. It's irritating to have your parchment paper with freshly piped transfers scatter to the wind. Trust me on this one. 2. After the transfers are dry, use a spatula or knife to break your icing lines. They actually look like twigs for a bird's nest! Set these aside for now. Let's make the chick! 1. Use yellow icing to make the chick's body. Let it crust. 2. Use brown icing to make the nest. Immediately place the icing "twigs" on the wet brown icing. It's ok if some of the twigs break in the process! Also, feel free to let them hang over the edge of the cookie. 3. Time for the next details! Pipe the wings, hair pouf, eyes, and beak. I used white nonpariels for the eye highlights. 4. I decided to add some other accents to make girl and boy chicks. For the girl, I just added some eyelashes, bow, and flower accents. For the boy, I just added a bow. I think I'd do a bowtie next time. And some glasses! So cute! I hope that you're inspired to add some of these cute chicks to your spring cookie collections! Want to make the eyes ahead of time as royal icing transfers? Grab a template here!
Laurel Harlan
3/2/2018 06:14:58 am
Love, love! Thanks, Amy, for all the ways you are so inspiring. I was thinking this would be fun to do with melted chocolate instead of the royal icing.
Amy Clough'D 9 Cookies
3/3/2018 06:05:12 pm
That sounds delicious!
Darlene
3/2/2018 05:14:05 pm
Two new techniques; the twigs and the nonpariels for the eyes. Both are great ideas. Thanks.
Amy Clough'D 9 Cookies
3/3/2018 06:05:52 pm
You're very welcome! Happy Decorating!
Holly
3/5/2018 06:02:50 pm
These are SO ADORABLE!! I can't wait to make these! Thank you for sharing! 3/20/2018 01:39:04 am
Thank you so much for this adorable tutorial! I ran out to get that cutter today—can’t wait to make them!
JayMalob
3/26/2018 07:12:40 pm
This is so cute! Thanks for the tutorial, the color are amazing! Any tips for getting it as close to yours? 3/26/2018 09:03:12 pm
I mostly use Americolors. The chick color was a mix of lemon yellow and egg yellow. The brown for the nest was chocolate brown with touch of green (to off-set the strong red undertones). Hope this helps!
Belinda Cooley
2/3/2019 11:56:25 pm
Can you tell me where you got that adorable cookie cutter??? Comments are closed.
|
AuthorI'm Amy. Wife, Mom, former science teacher- and now full time cookie baker on Maryland's Eastern Shore. Pull up a chair and we'll create! I'll bring the coffee- maybe Mike (The Cookie Widower) will make it for us. Categories
All
Archives
May 2021
|
||||||
Copyright © 2024 Clough'D 9 Cookies *All rights reserved*


 RSS Feed