|
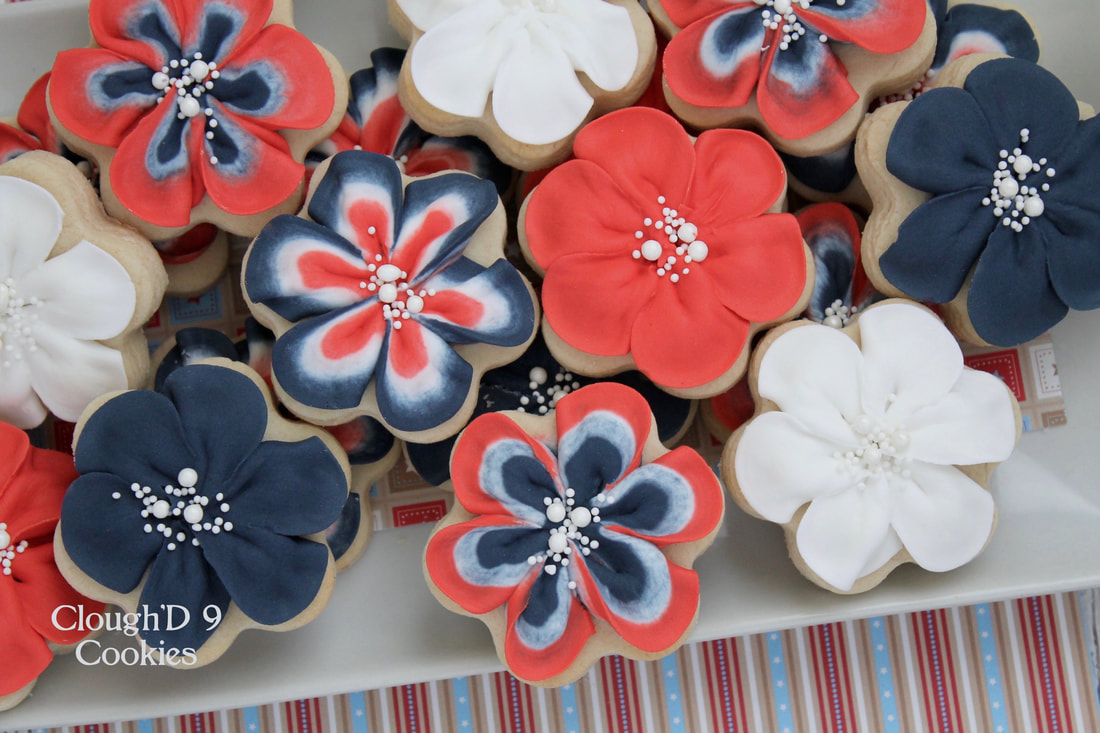
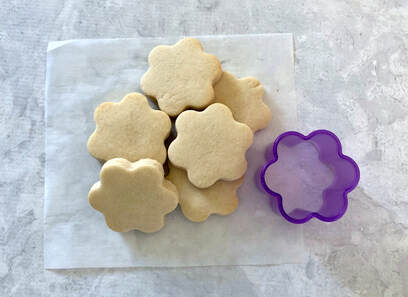
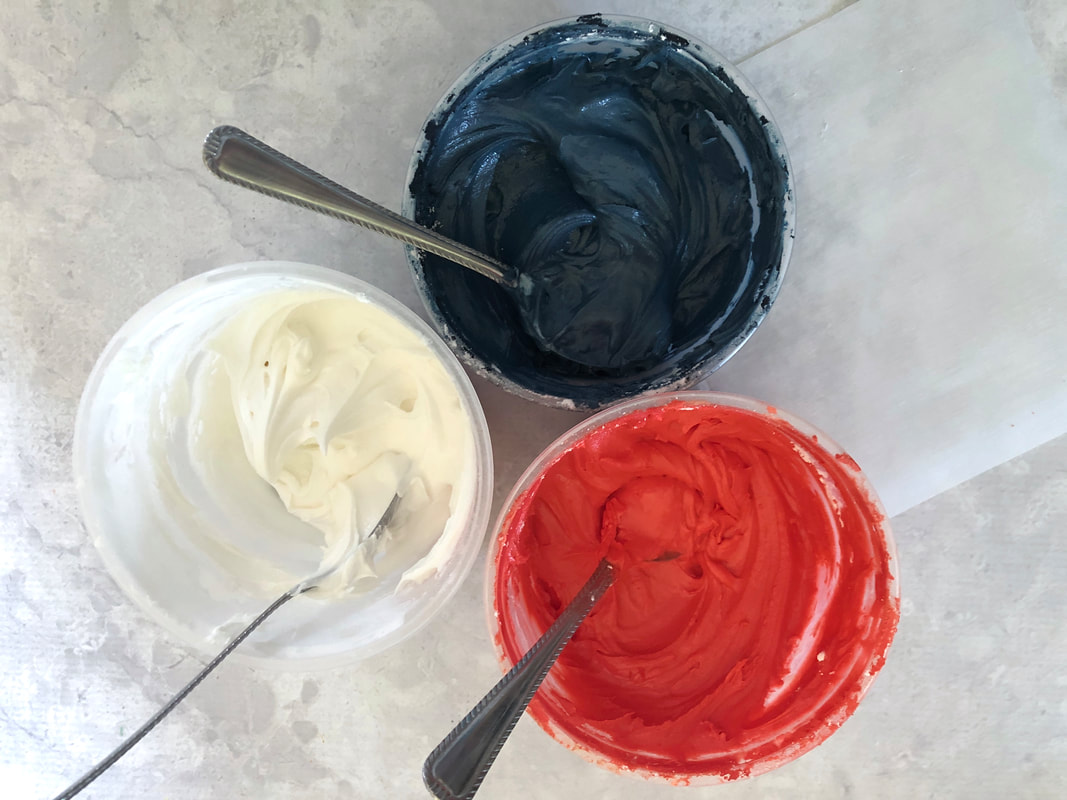
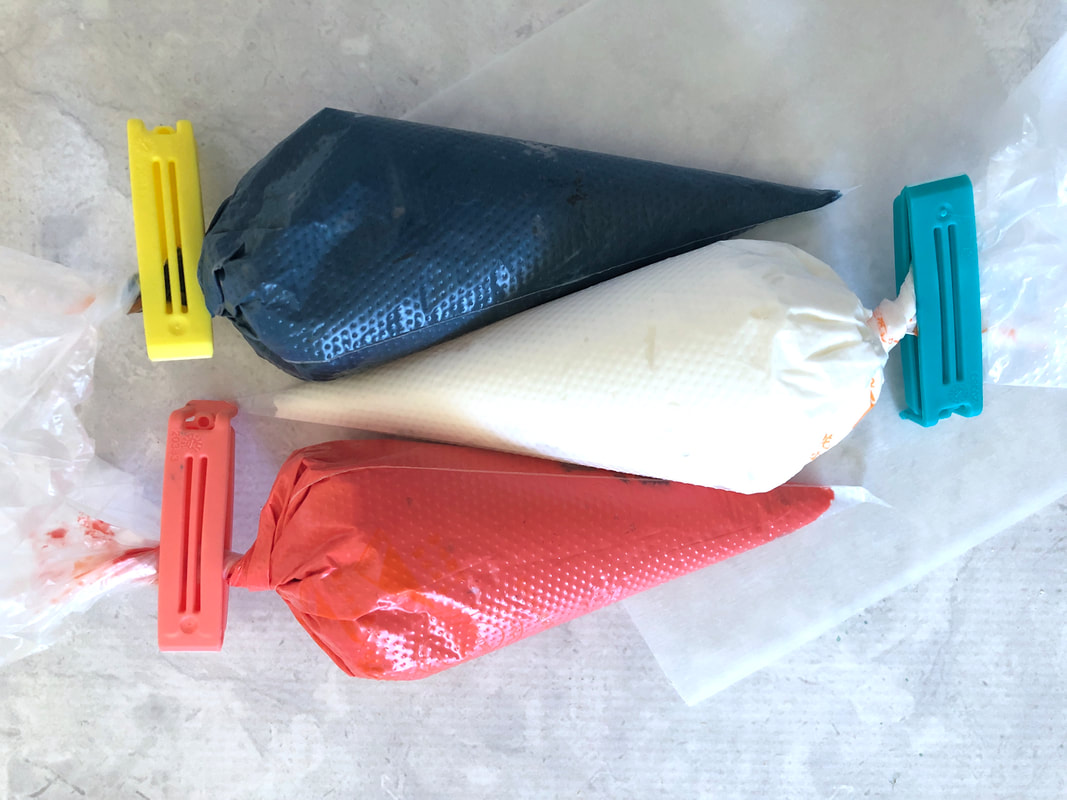
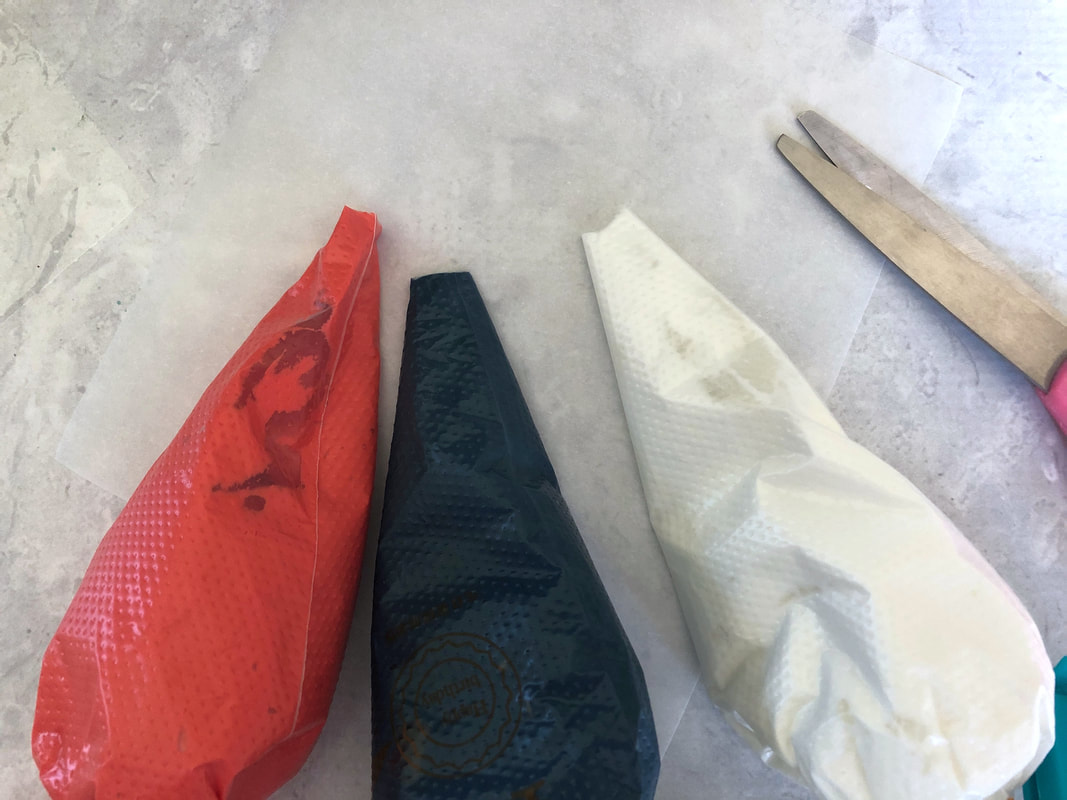
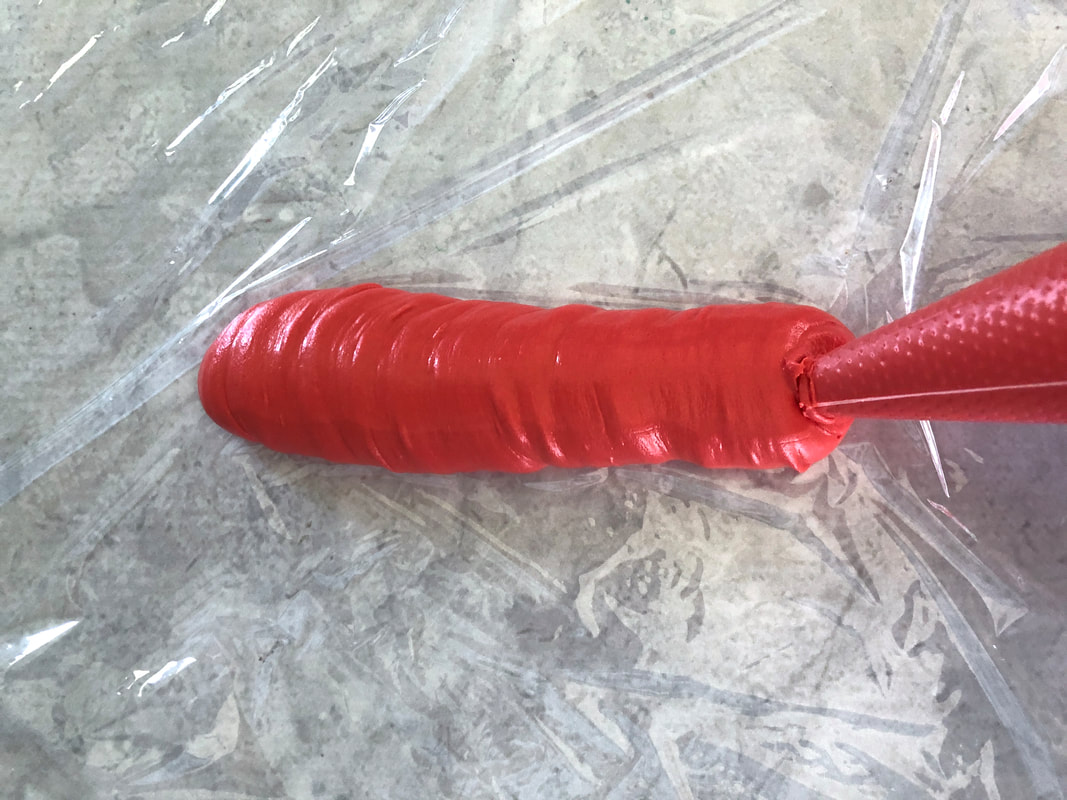
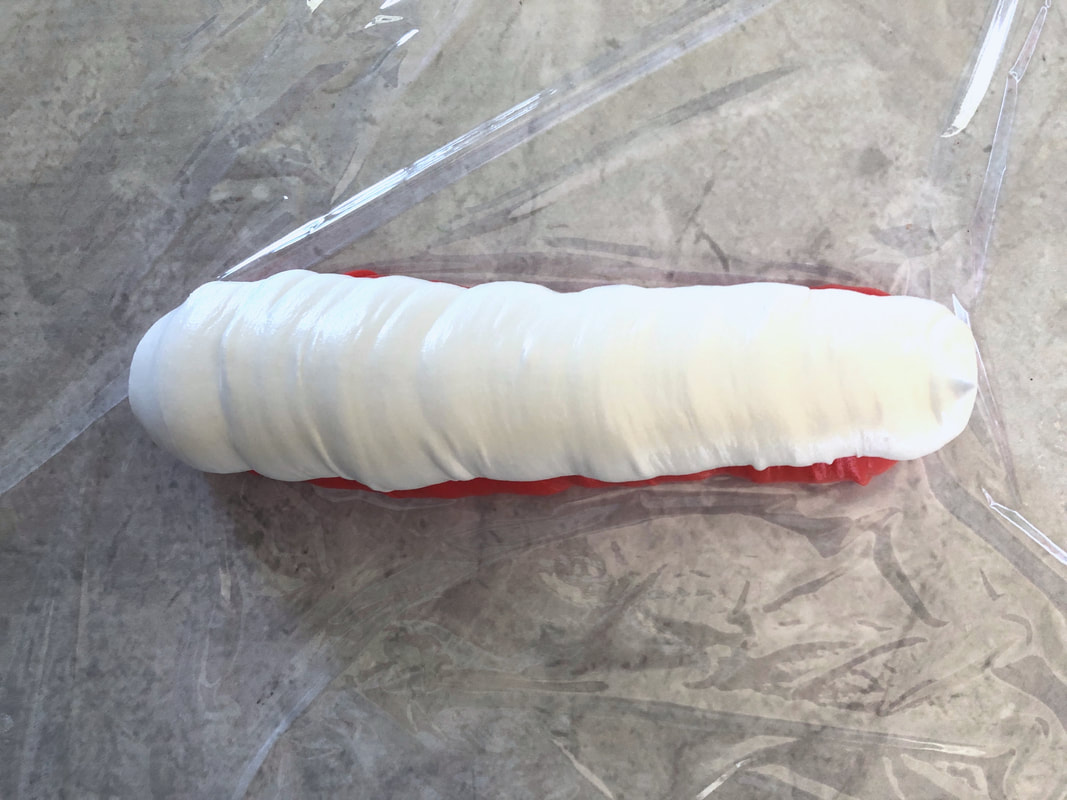
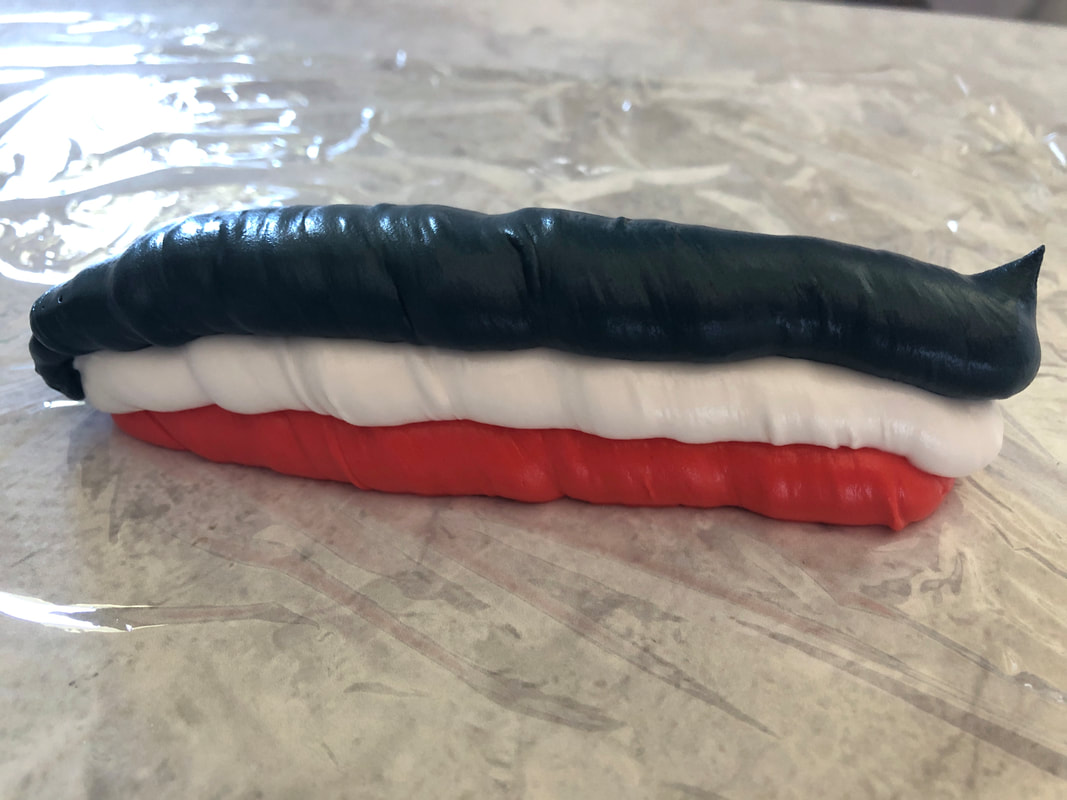
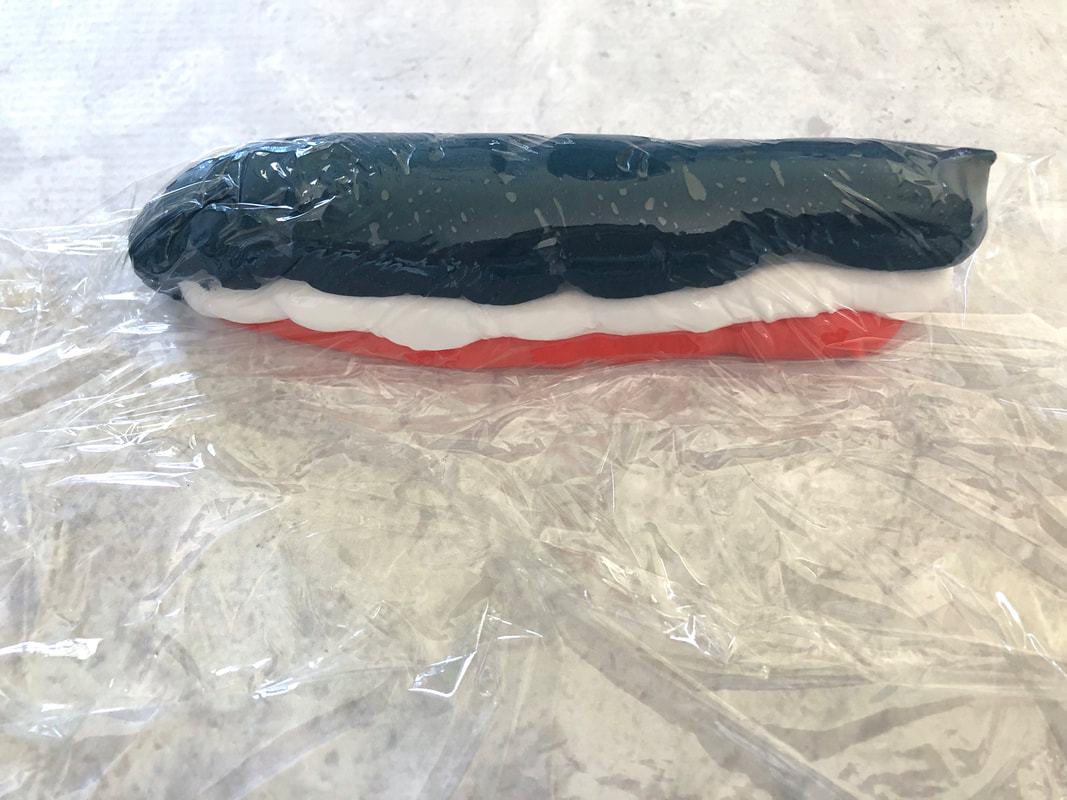
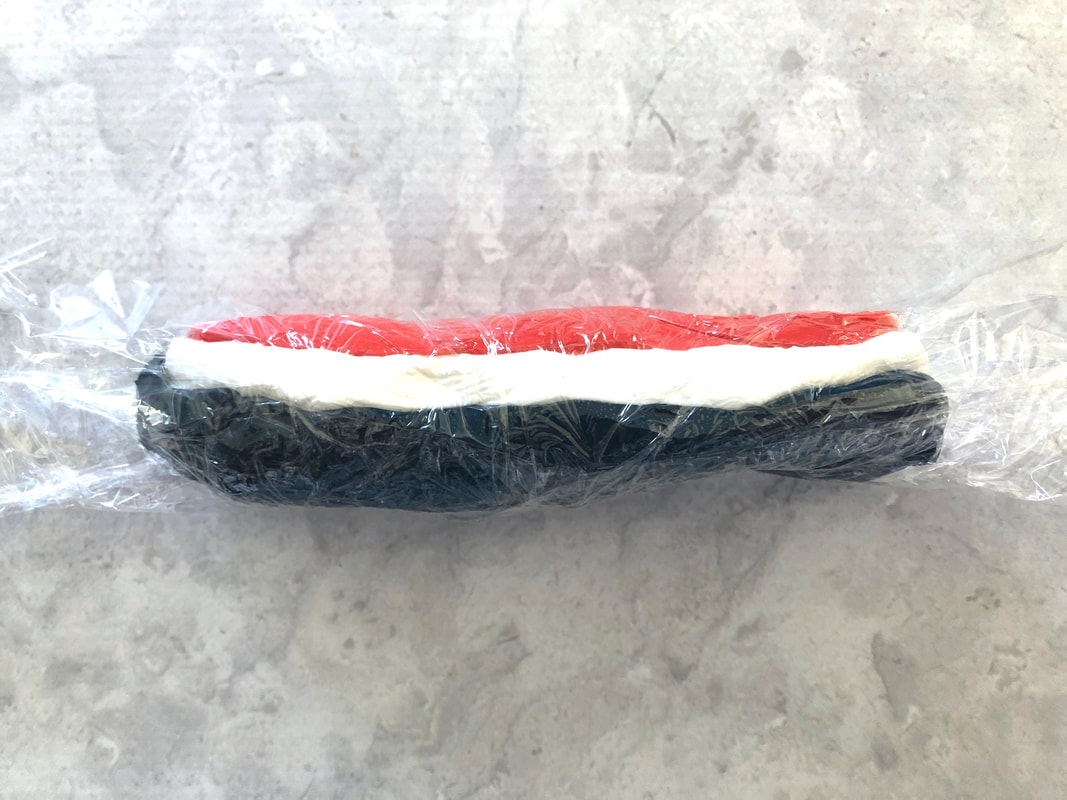
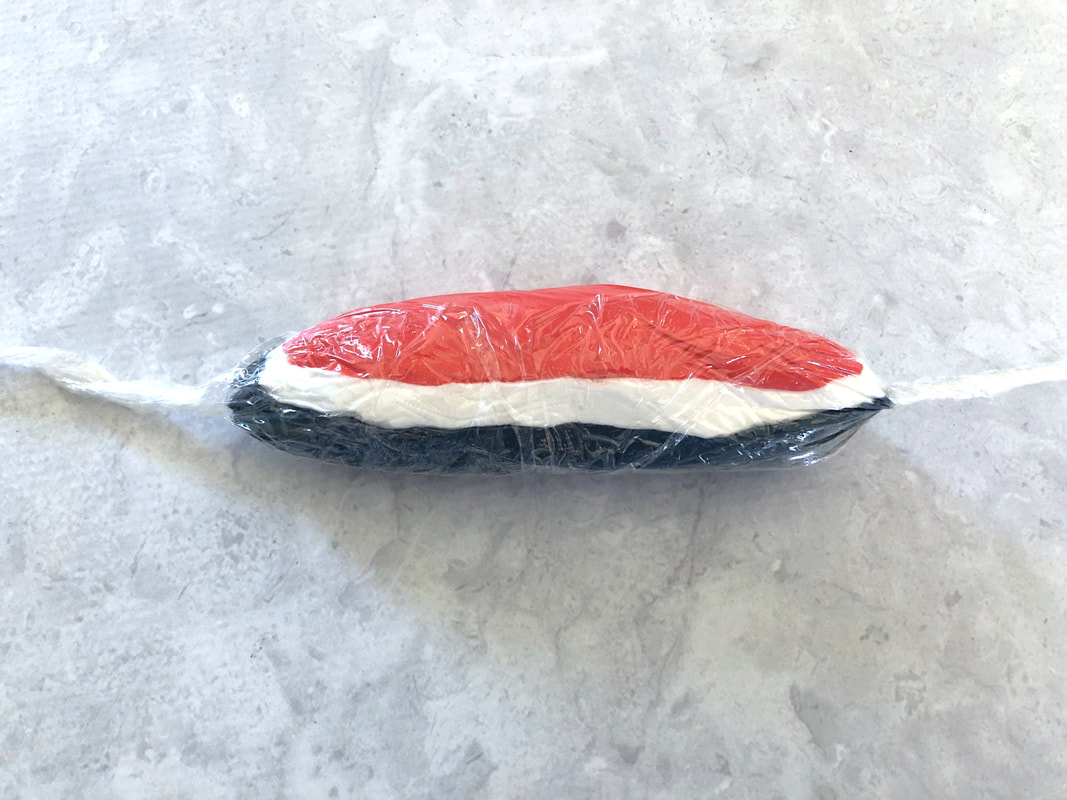
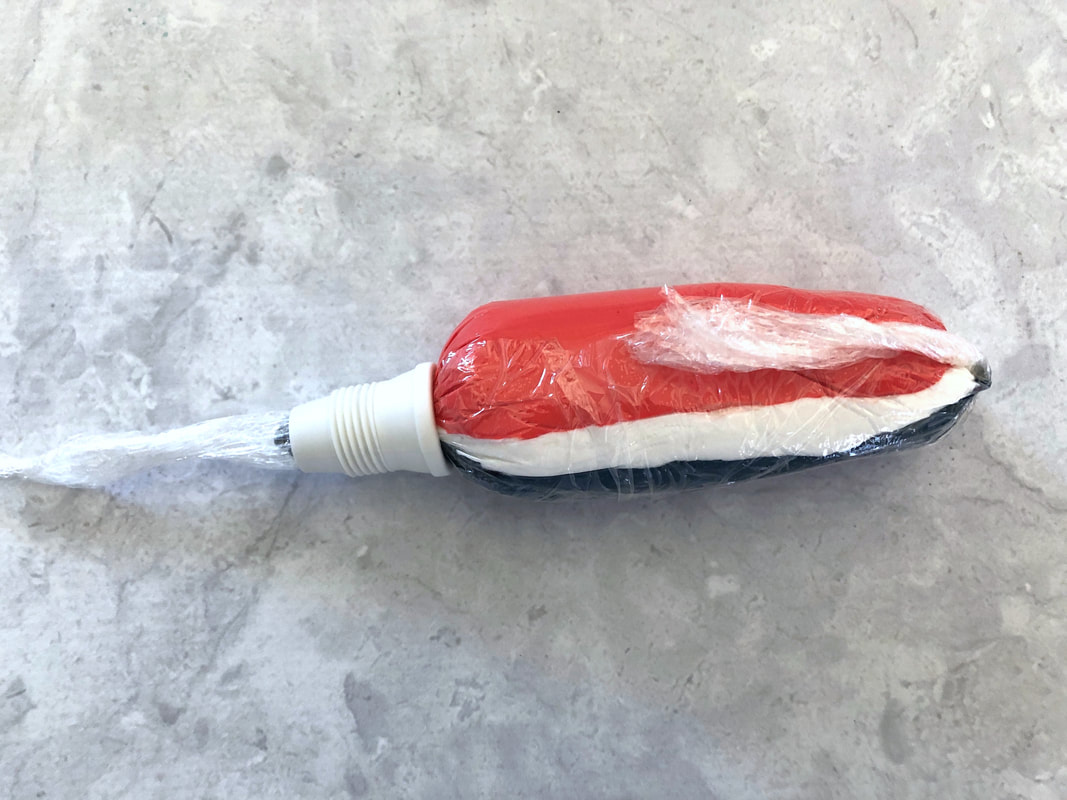
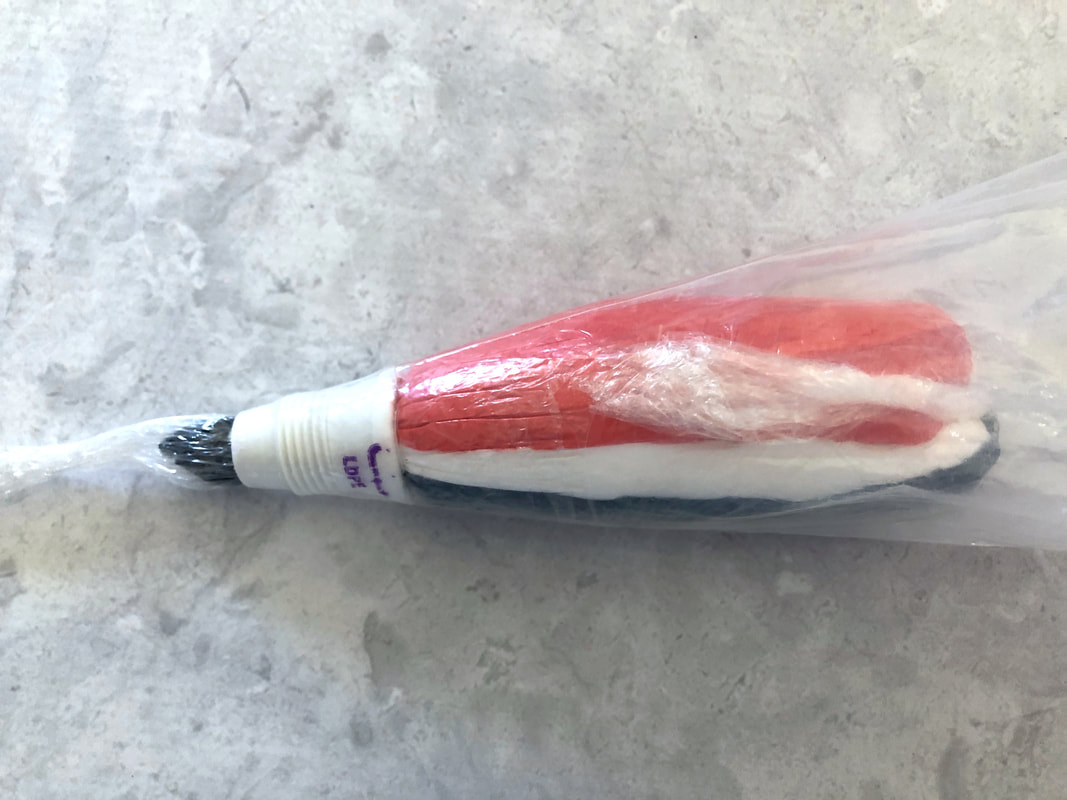
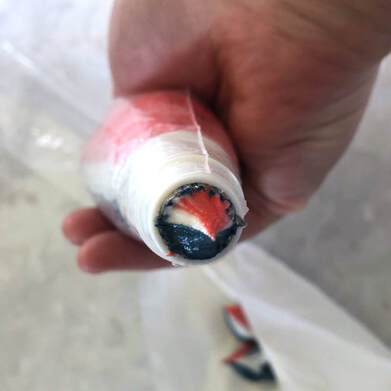
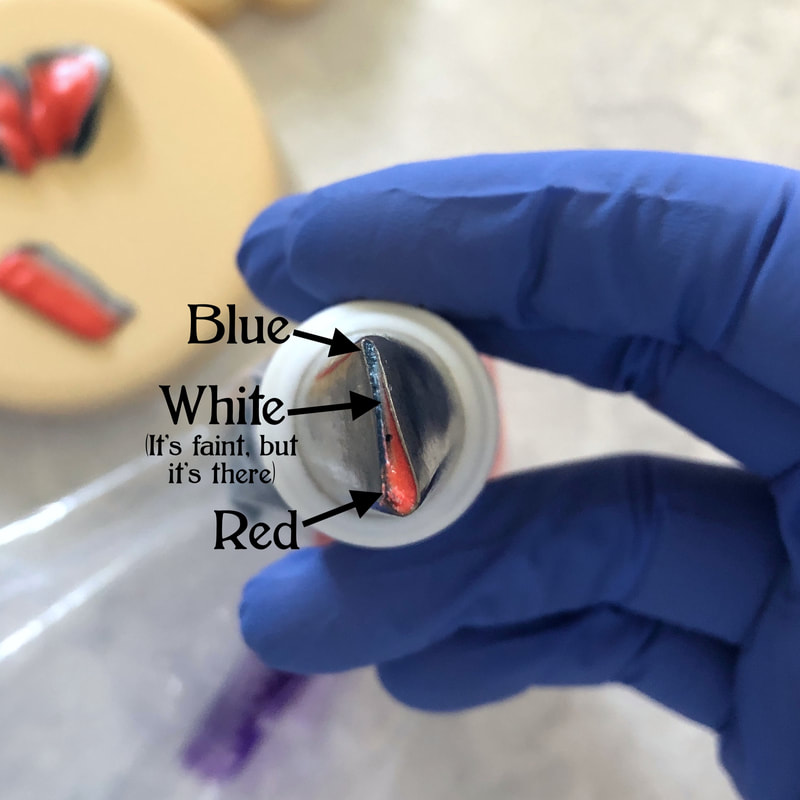
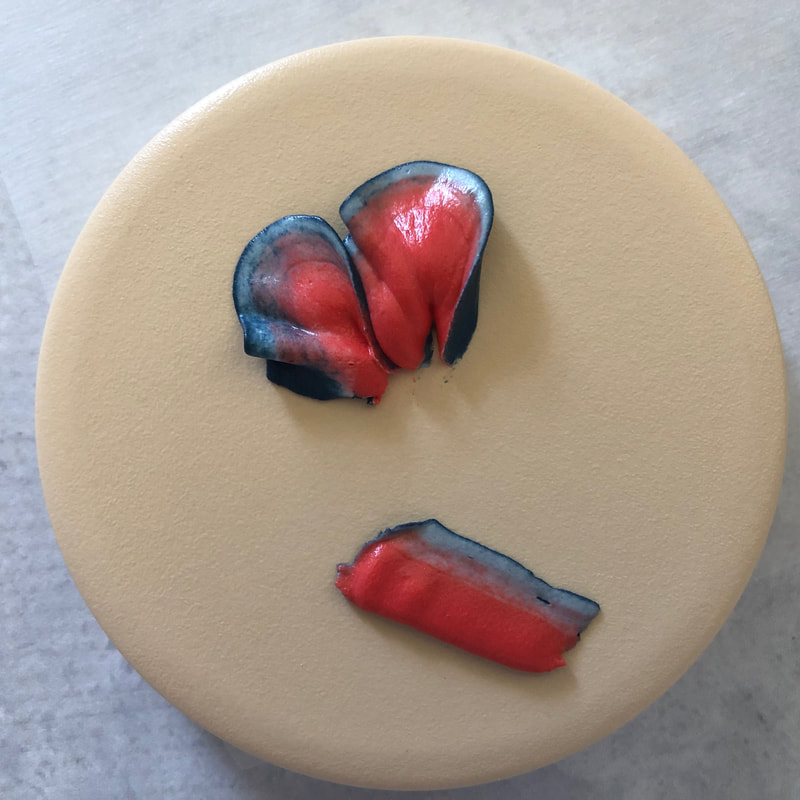
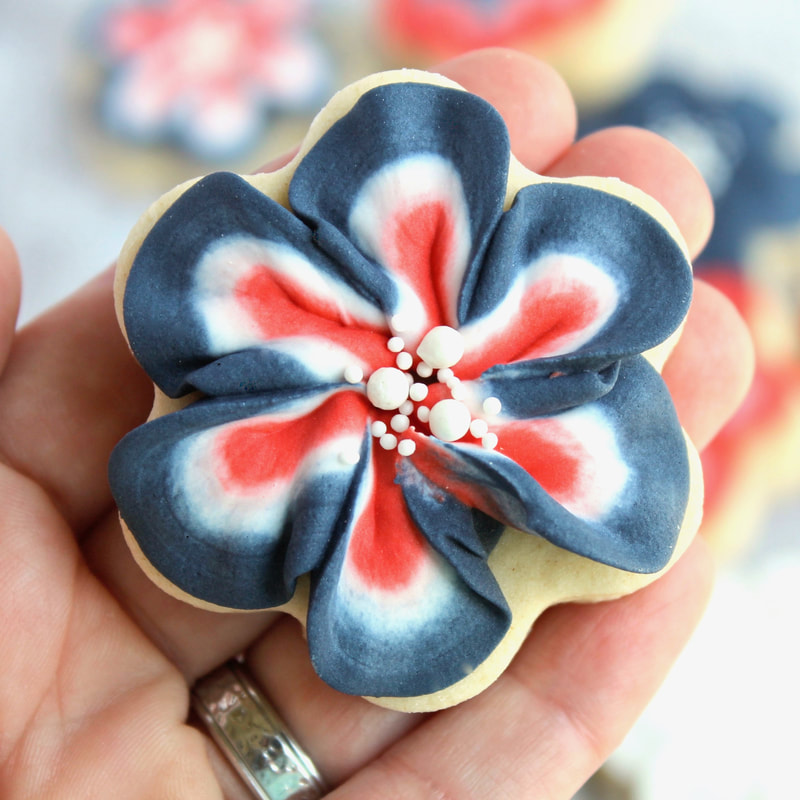
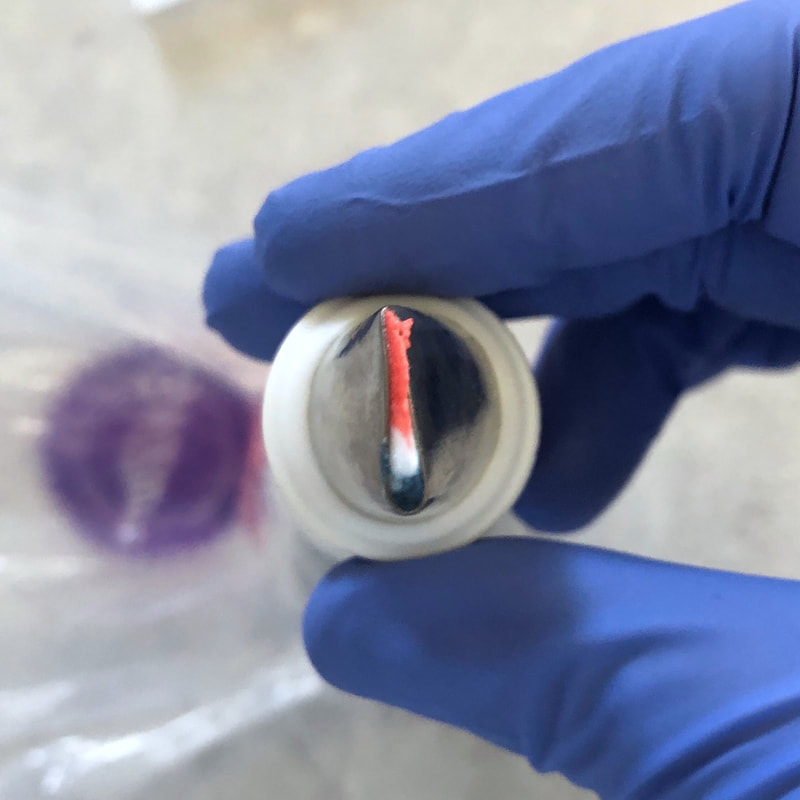
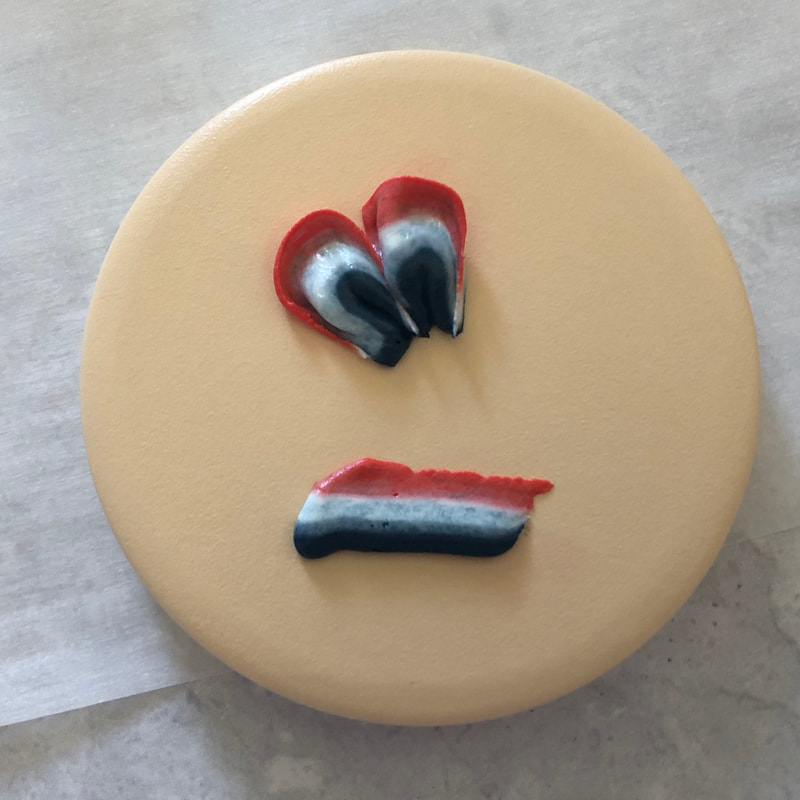
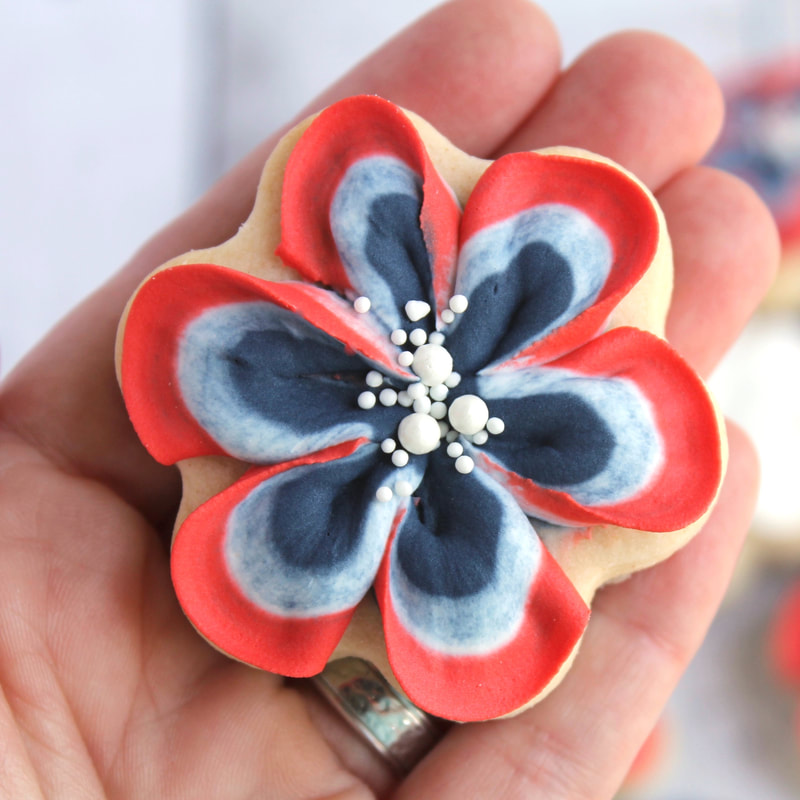
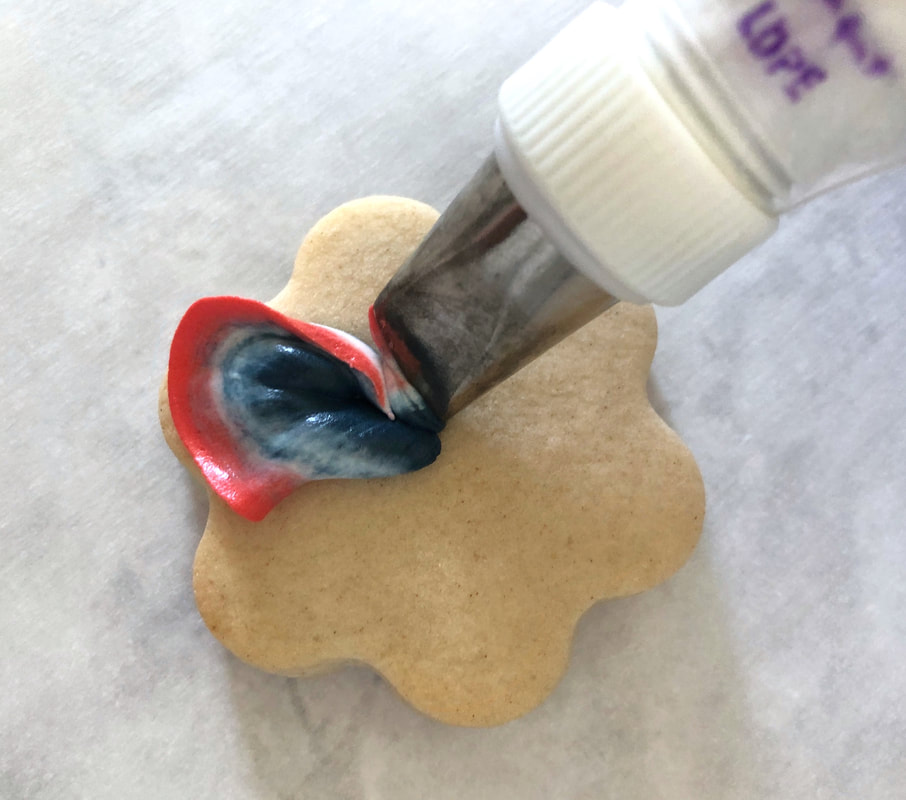
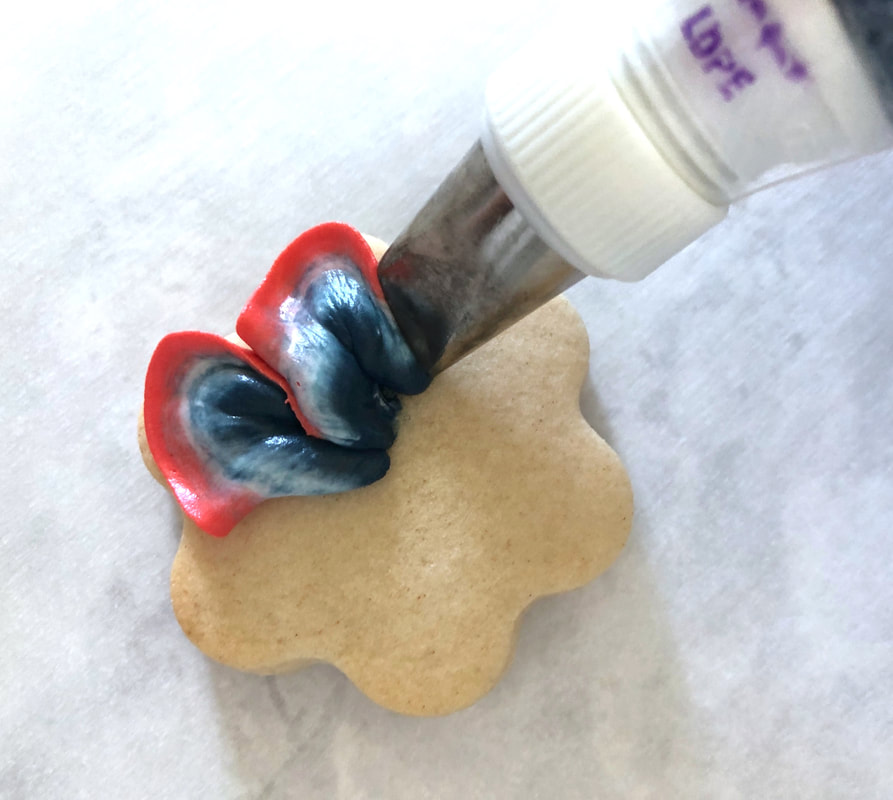
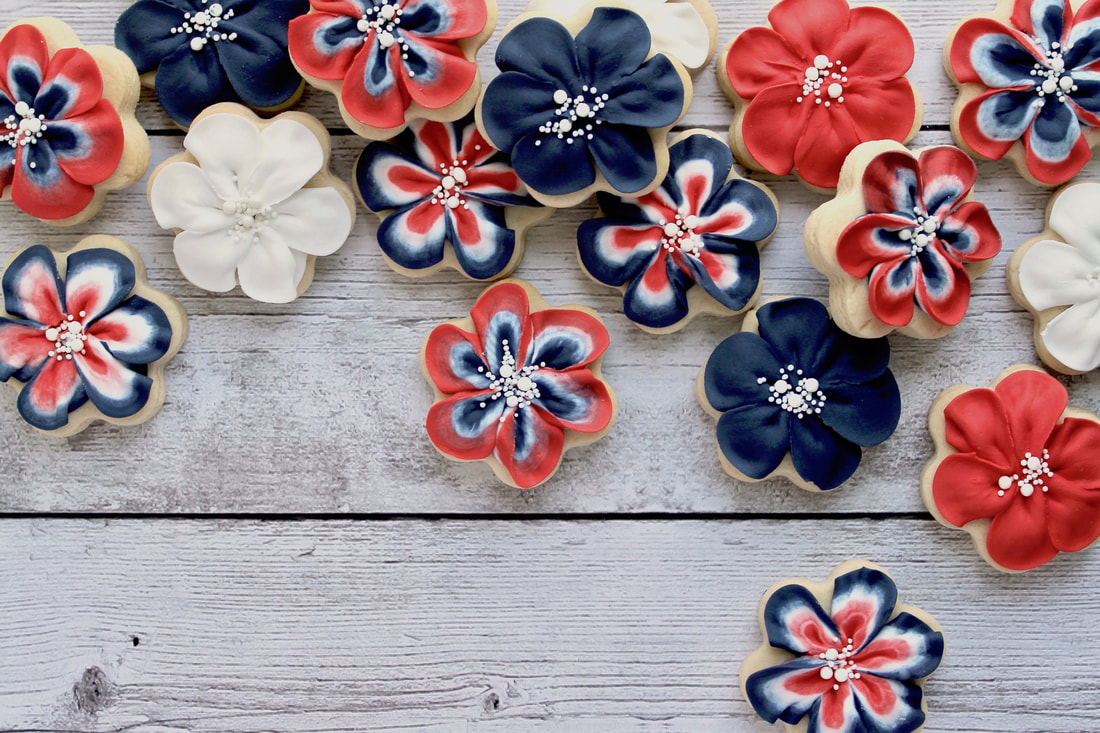
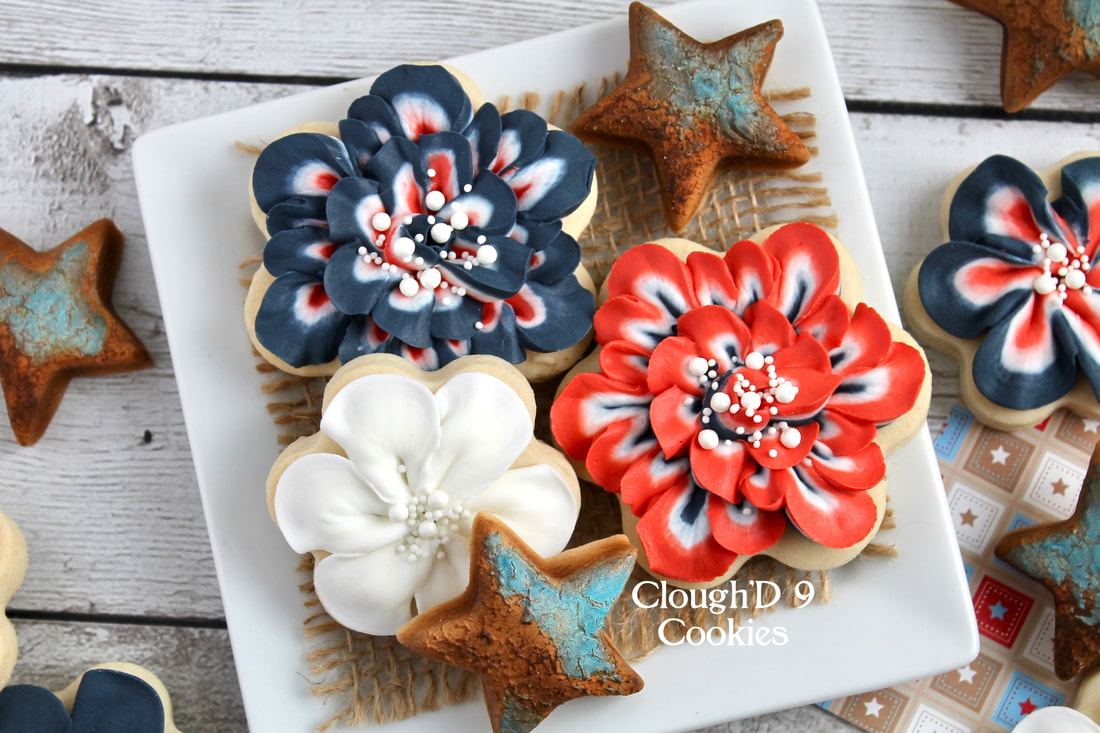
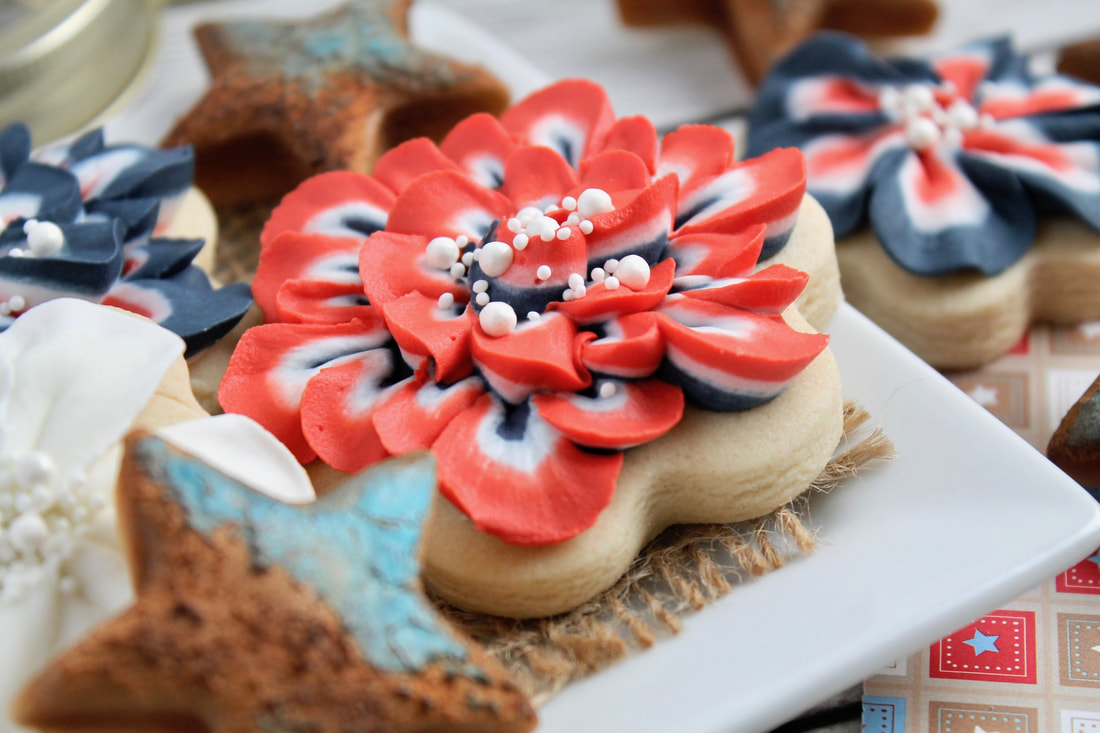
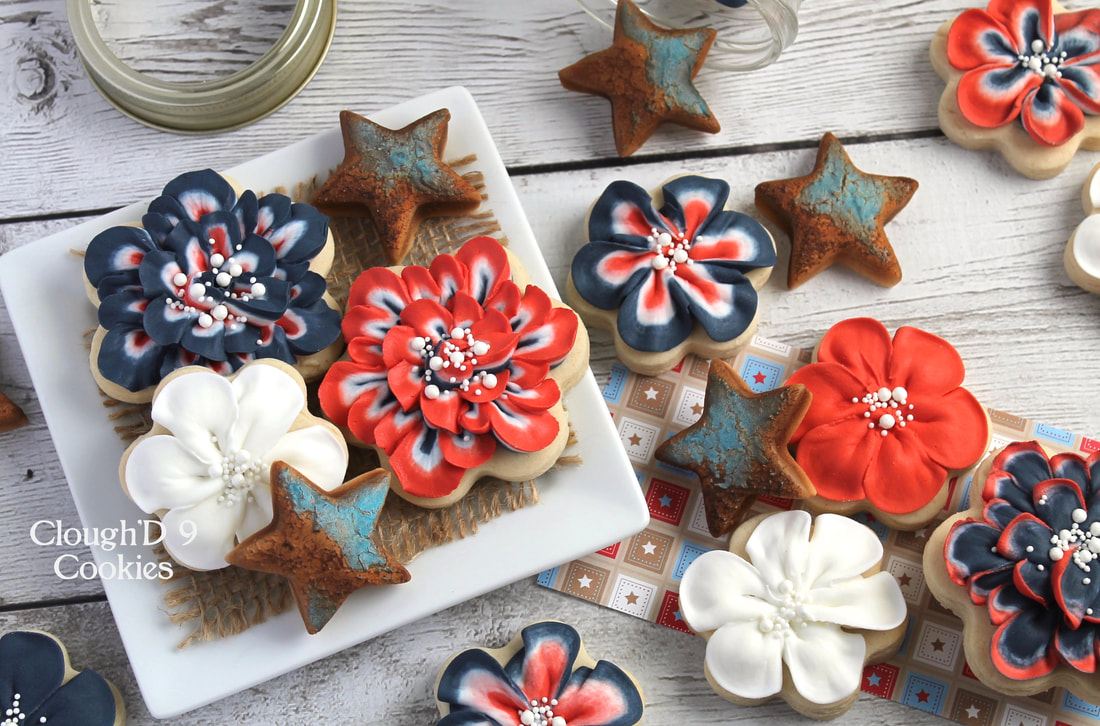
These tri-color flower cookies are the perfect way to use up leftover dough and icing! They're created by layering different icing colors in a single decorating bag (versus striping the inside of the bag with colors). Best of all, you can make them with whatever icing colors you have on hand! In this case, I had leftover red and navy blue icing- perfect for a patriotic platter of cookies! Deeply tinted icing is tough to re-purpose into another color because it's already saturated with food dye. So why not use it up to make some small treats to share with friends and family? * Take note: prepping the icing bags takes some time, so don't let the next series of pictures alarm you. Once the final icing bag is ready to go, the flower cookies are really quick to decorate! What You'll Need * baked cookie flower shapes (I used a 2 1/8" flower cutter from a concentric flower cutter set, similar to this one) * stiff royal icing in 2-3 colors * disposable icing bags; thin ones and at least one thicker bag * plastic wrap * Wilton petal icing tip #104, and coupler/ring set (I love Ateco couplers and rings) 1. Bake your cookie shapes using your favorite roll-out cookie dough. 2. Prep your icing. You'll need 2-3 colors of icing in stiff consistency. Put each color in its own disposable icing bag. Generously cut the ends off of each bag. 3. Spread out a piece of plastic wrap, about 12" long. Squeeze the icing into a thick consistent layer, one color on top of another. I wanted the traditional red-white-blue color combo, so I layered the icing accordingly. Each icing "squirt" is about 1.25" wide x .75" tall x 4" long. It's a lot of icing. 4. Gently fold the plastic wrap over the "pod" of icing, and continue to roll the pod to use up the remaining of the plastic wrap. Twist the plastic wrap at each end of the icing pod. 5. Feed one end of the icing pod into an icing coupler. Turn down the opposite end. Drop the whole pod into a thicker icing bag, keeping the one end tucked next to the pod. This will prevent icing from squirting out the back of the bag when you use it! 6. Cut the exposed end of the icing pod. Squeeze out icing until you see the all of the icing colors. 7. Time to add the icing petal tip! Petal tips have a thick and thin end. The thick end will create the middle/bottom sections of the flower petal. The thin end will create the outer edge of the flower petal. Place the icing tip according to how you want your flowers to look. Be careful as you screw down the outer ring of the coupler, because it's easy to turn the icing tip by accident. Make sure you squeeze out a little icing to make sure it looks right before you go to your cookie. **Want a blue edged flower? Make sure that the thin end of the icing tip is covering the blue layer of the icing pod.** **Want a red edged flower? Make sure that the thin end of the icing tip is covering the red layer of the icing pod.** Whew! Still with me? I told you that the icing prep was lengthy! Time to actually decorate the cookies! This is easy! Hold the icing bag so that the THICK end of the icing tip is closest to the middle of the cookie. Gently squeeze the icing bag as you move the bag towards the outer edge of the cookie and then pull it back down towards where you started. Release the pressure on the bag. You made the first flower petal! Turn the cookie a bit to pipe the next petal, then repeat to create the rest of the flower. I topped off the completed flower with a few white nonpareils and sugar pearls. Perfect! To change the look of the flower, remove the icing tip, clean and dry it well, and replace it in a different orientation. If you're going to platter the cookies, make some flowers in solid colors so that the tri-color blooms POP! Looking to change up the blossoms even more? Just pipe another layer of petals. BOOM! Have a wonderful July 4th holiday! Comments are closed.
|
AuthorI'm Amy. Wife, Mom, former science teacher- and now full time cookie baker on Maryland's Eastern Shore. Pull up a chair and we'll create! I'll bring the coffee- maybe Mike (The Cookie Widower) will make it for us. Categories
All
Archives
May 2021
|
Copyright © 2024 Clough'D 9 Cookies *All rights reserved*


 RSS Feed